Overview
The Thrust Calculator facilitates the process of both bulk uploads and single segment uploads. A single segment upload is relevant when you do not have a spreadsheet full of data, but individual travel information. For example a one off hotel booking.
1. Create an instance
See: Creating a calculator instance
2. Add a single segment
When you are in the instance you want to add data to, navigate to the “segments” tab and click on the “single segment” button as shown below.
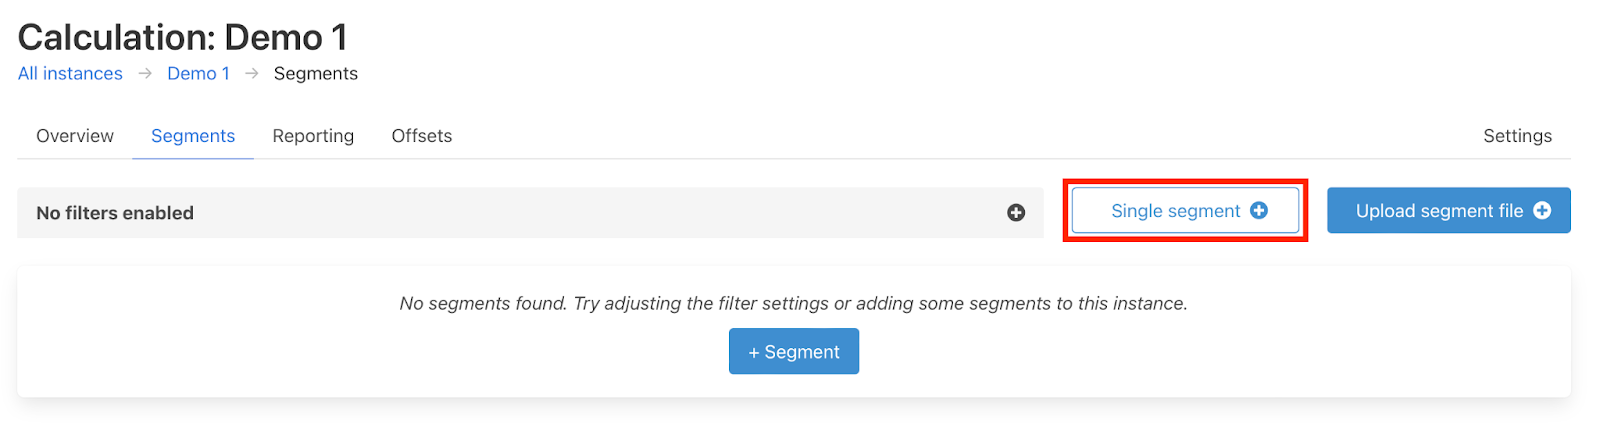
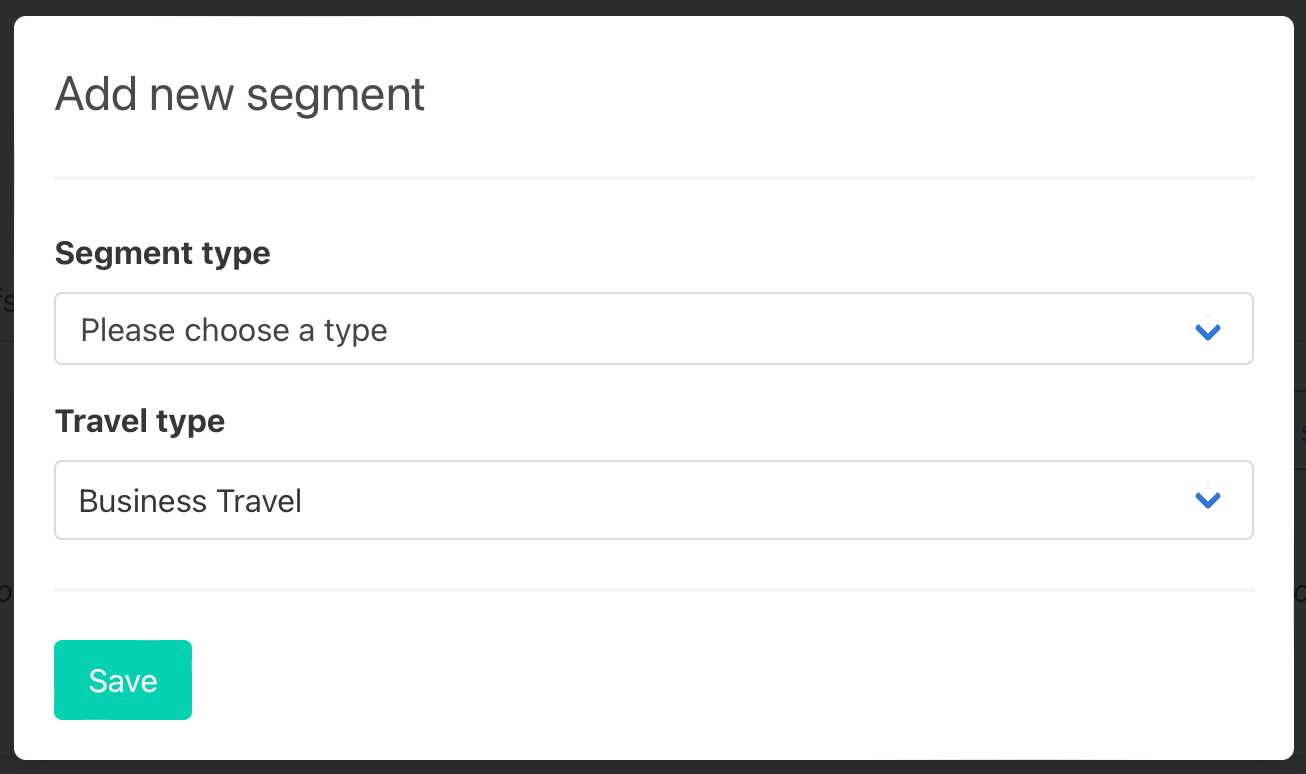
The below pop-out will appear. The segment type defines the type of travel; air, rail, bus, taxi, car, ferry, hotel etc. While the travel type defines which scope of emissions the travel is in.
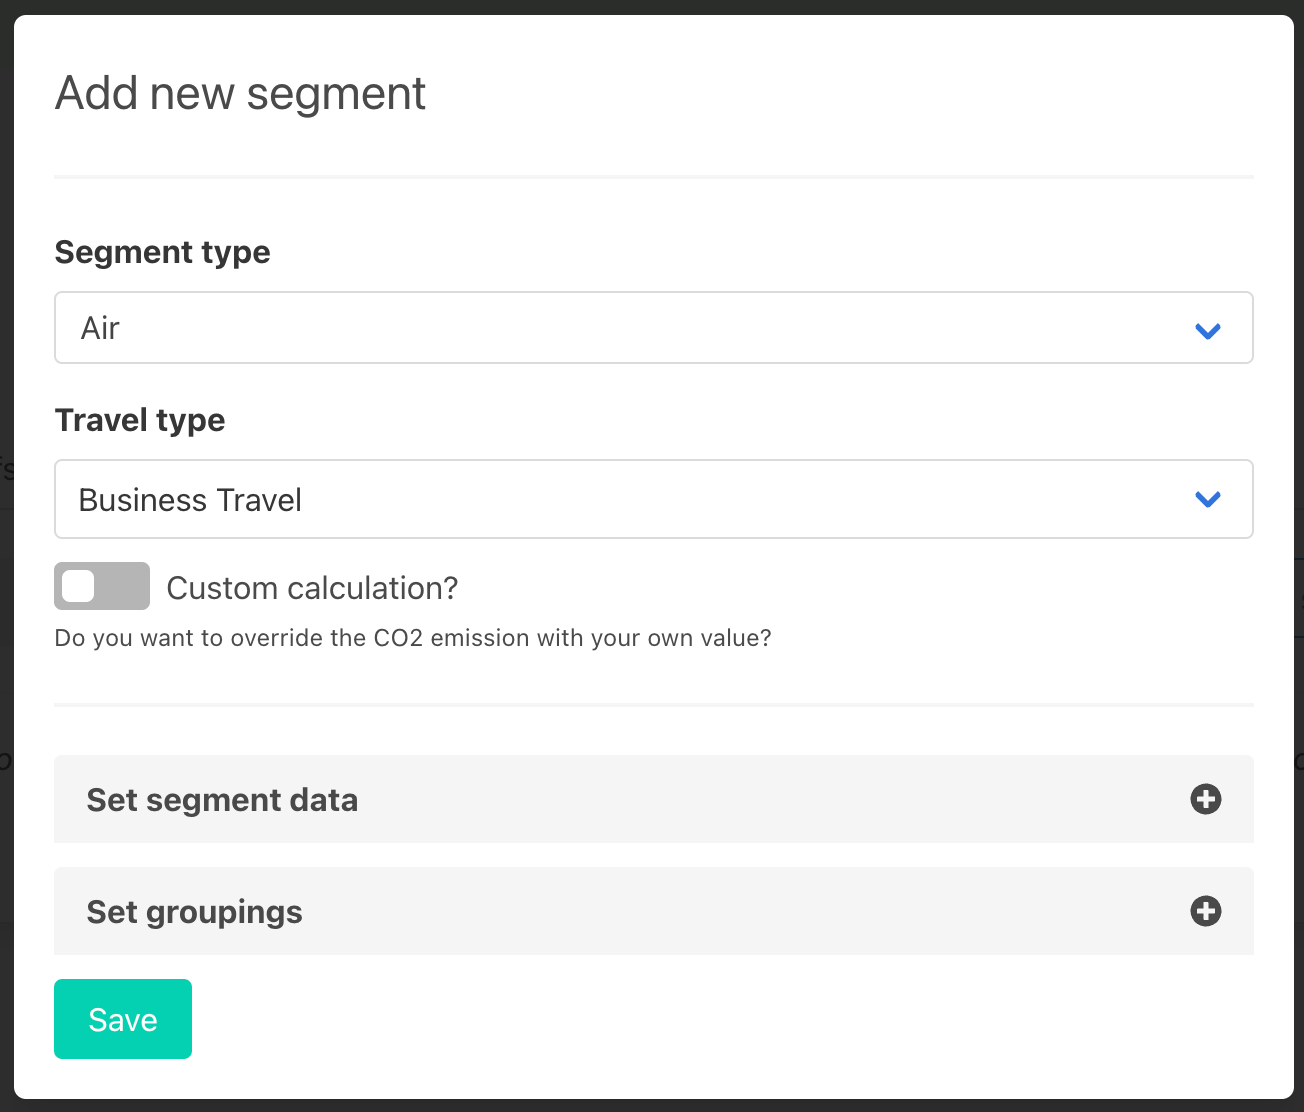
Select the segment type and travel type and the pop-out will expand to include “set segment data” and “set groupings” as shown below.
3. Fill in fields
For each segment type the “set segment data” changes depending on the required data to get a best in class calculation for the carbon emission.
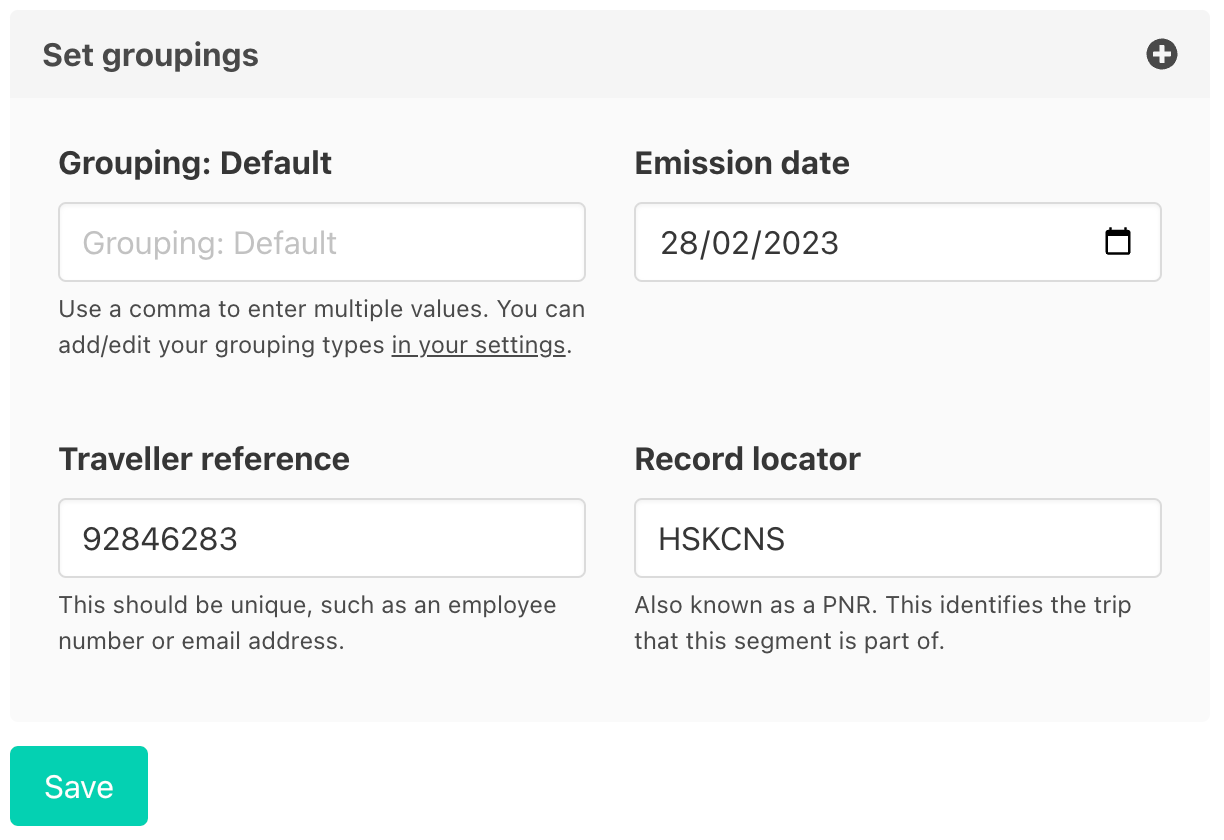
The set groupings headers which are shown below remain constant across segment types in a particular instance. If you have added any groupings types to your instance they will appear under this tab.
To add groupings to your instance see the article on creating groupings.
State the emission date which is the date of travel, and fill in the values if known for the groupings, record locator and traveller reference and shown below. Once you have finished populating the fields press “save”.
4. View segments
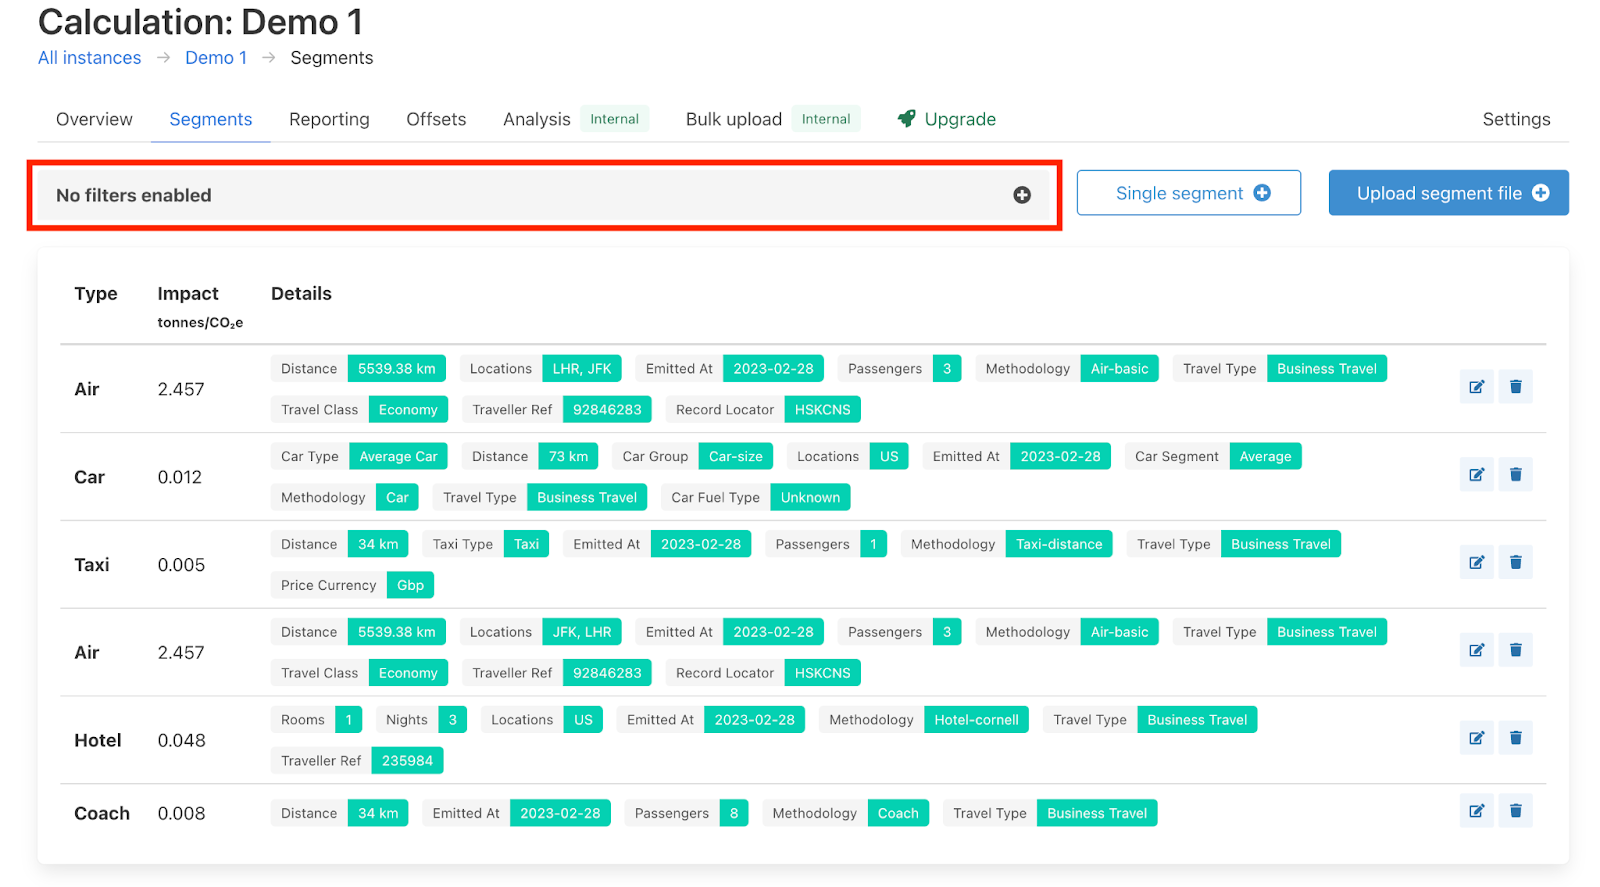
On hitting save to the single segment you will be redirected to the “segments” page where you will be able to view all your segments (both single segments and segment files that have been uploaded). Within this “segments” tab you can filter, edit and delete all segments within your instance.
To filter your segments click on the “+” sign on “No filters enabled” as shown below to view the filter options.
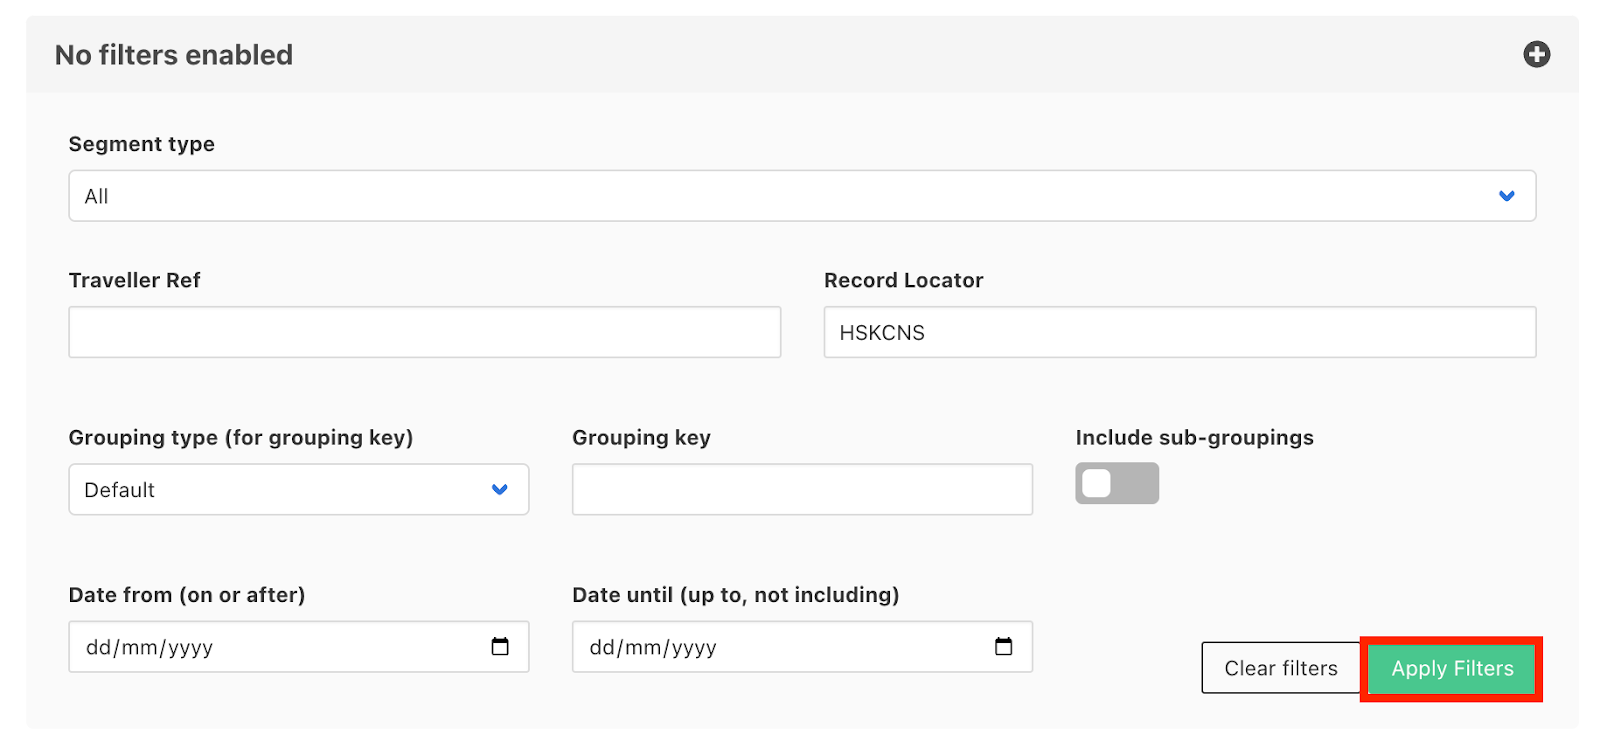
Within the filter dropdown you can specify what you want to filter by. In this example we are filtering by Record Locator “HSKCNS”. But you can filter by multiple filters. Once happy with your filter selection click on “Apply Filters”
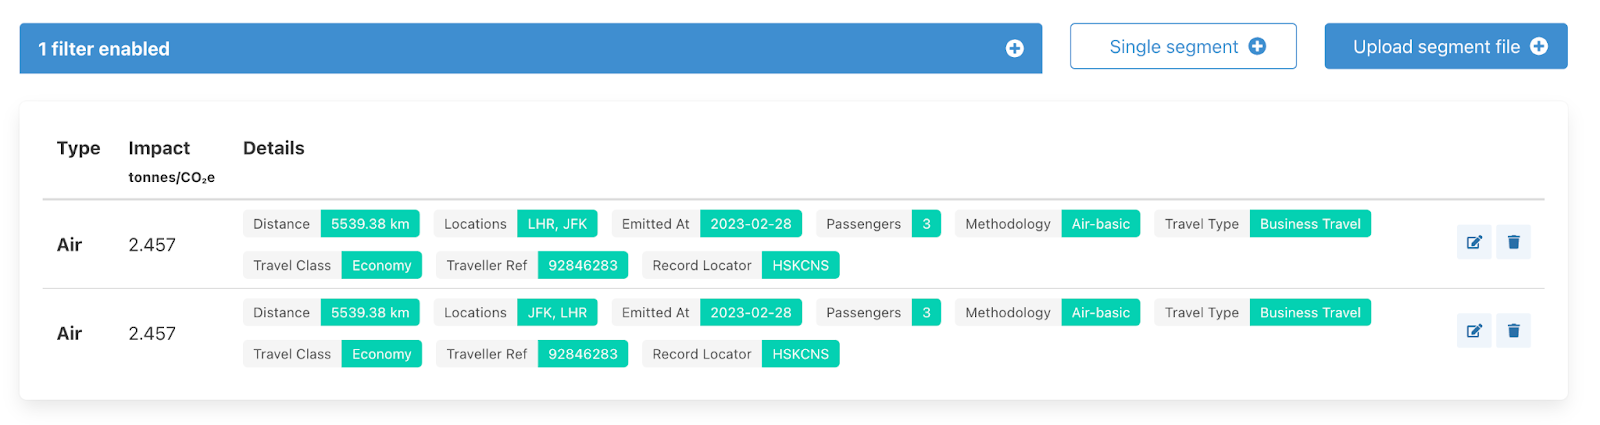
The segments that adhere to the filters will then be displayed.
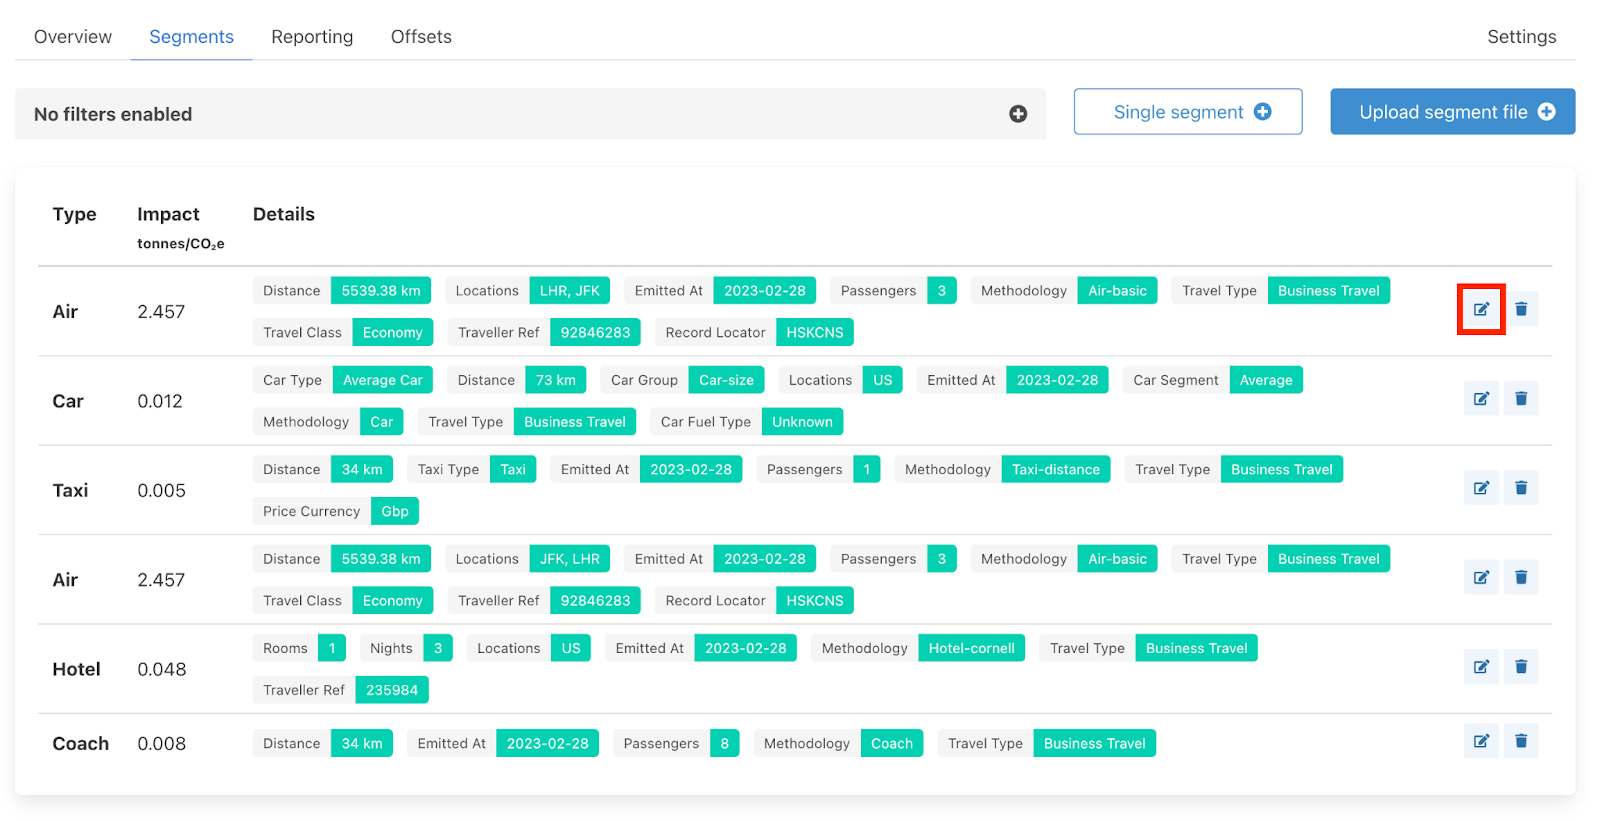
5. Edit a single segment
To edit a single segment click on the edit icon on the right side of the segment.
This will open up the segment to reveal all data inputs as shown below. Amend any information that is needed and then click save and you will be redirected to the segments page.

6. Delete a single segment
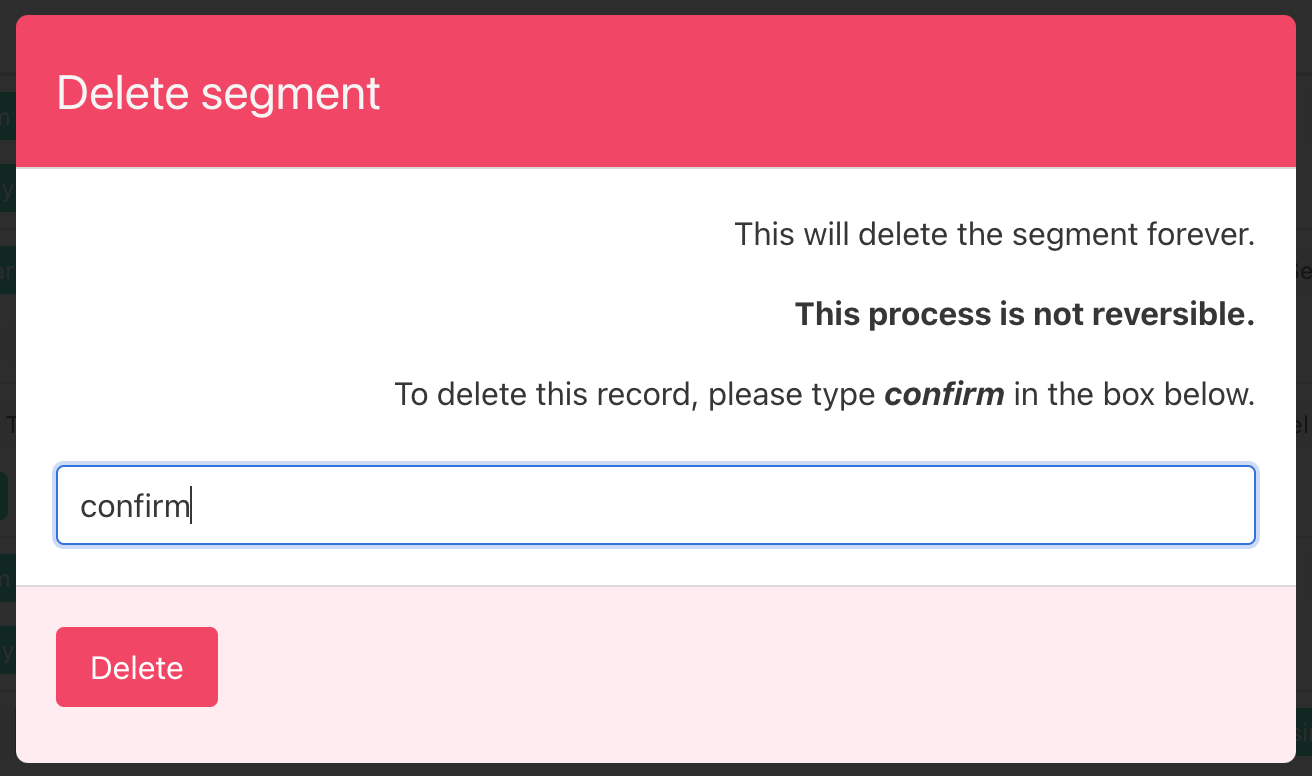
To delete a single segment simply click on the delete icon as shown below.

A pop-out will appear and you will need to type in “confirm” to successfully delete the segment.
Was this article helpful?
That’s Great!
Thank you for your feedback
Sorry! We couldn't be helpful
Thank you for your feedback
Feedback sent
We appreciate your effort and will try to fix the article