Overview
Once you have set up your organisation within the Thrust Calculator you are ready to create an instance. It's the main activity hub of the Thrust Calculator where you can add segments, issue emission reports, create carbon reduction targets and budgets, find a sustainable hotel and much more.
1. Creating an instance
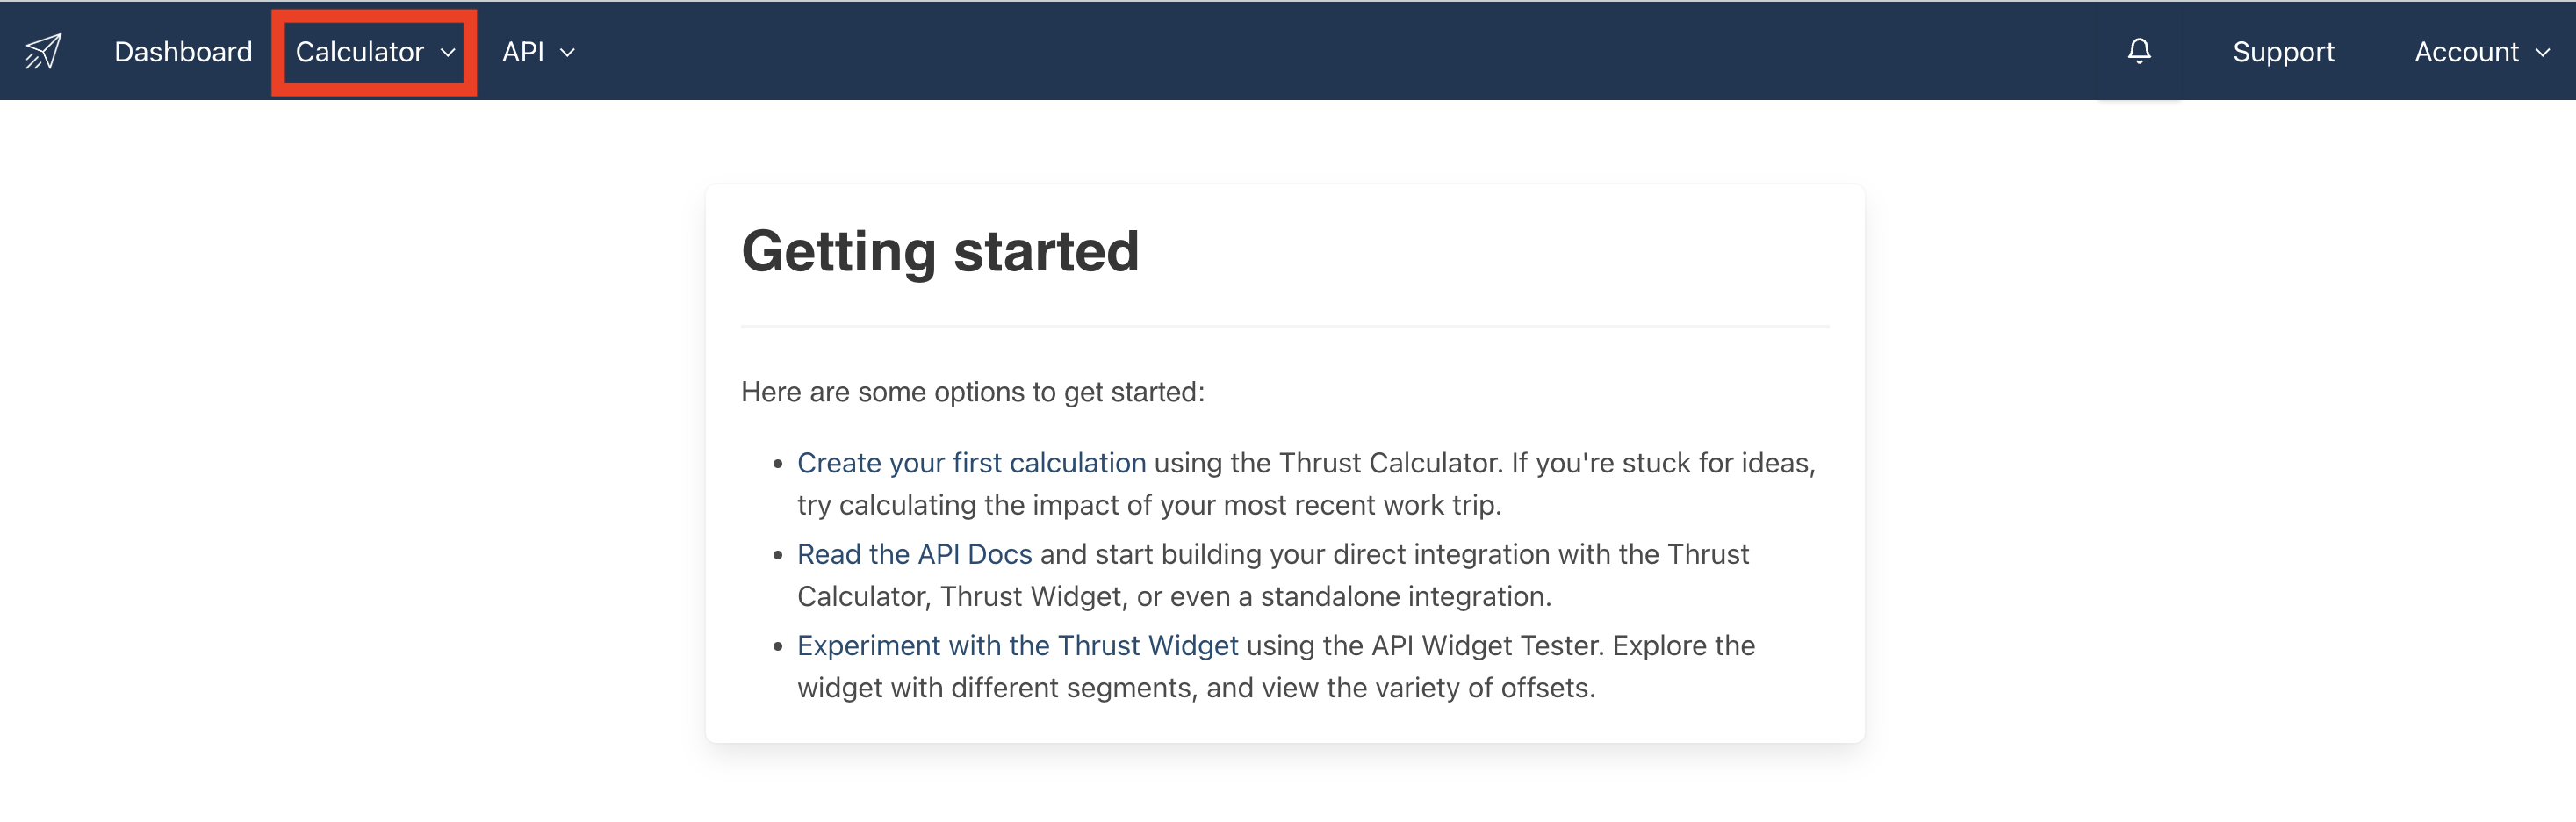
Once you are logged into the Thrust Calculator click on the “Calculator” button at the top of the page.
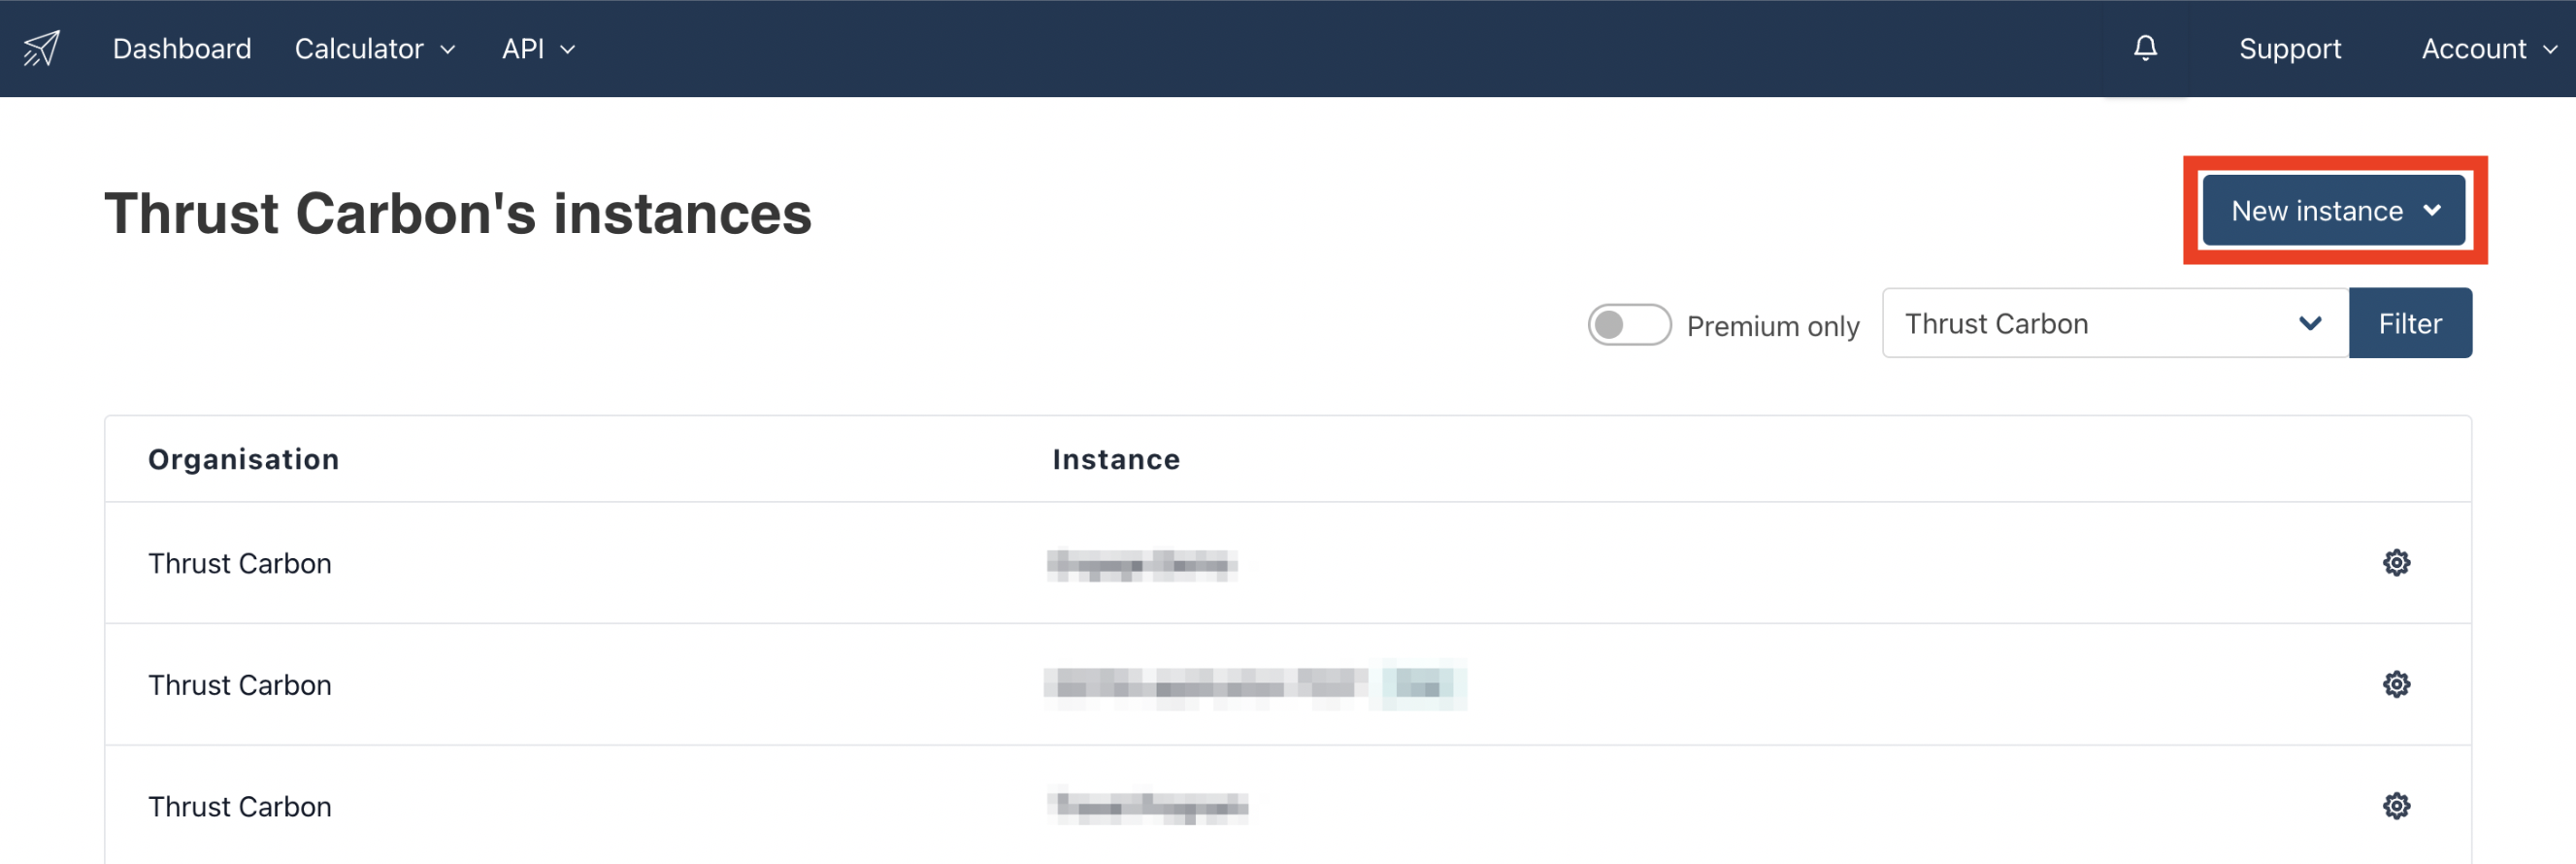
This will bring you to the below page which shows you a list of all the instances present in your calculator. To create a new instance click on the “New Instance” button, a drop down will appear, click "new instance" again to create a blank new instance.
The following pop-out will appear. Fill in the fields in the pop-out. If you have multiple organisations you will need to define which organisation you want the instance to belong to. Also state the primary use of the instance; travel program analysis ("transient" in industry jargon) OR meetings and events analysis. The currency is the default currency that will be applied to all your uploads unless an alternative currency is stated in the segment.
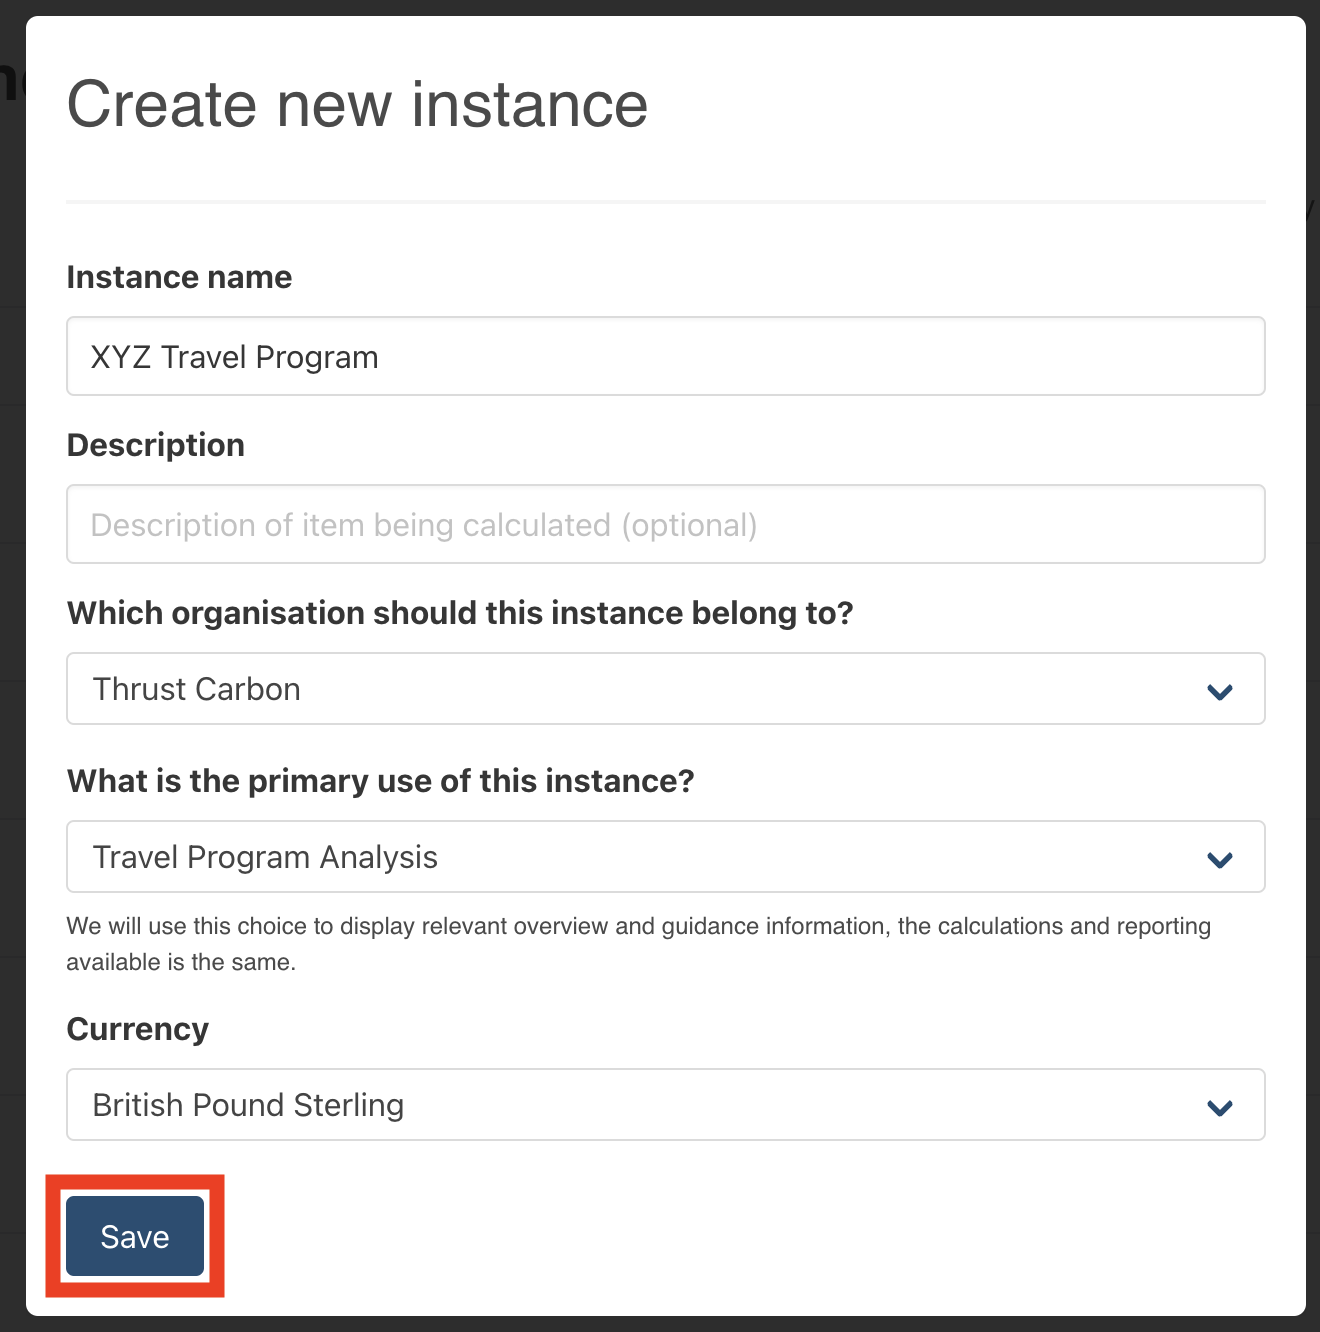
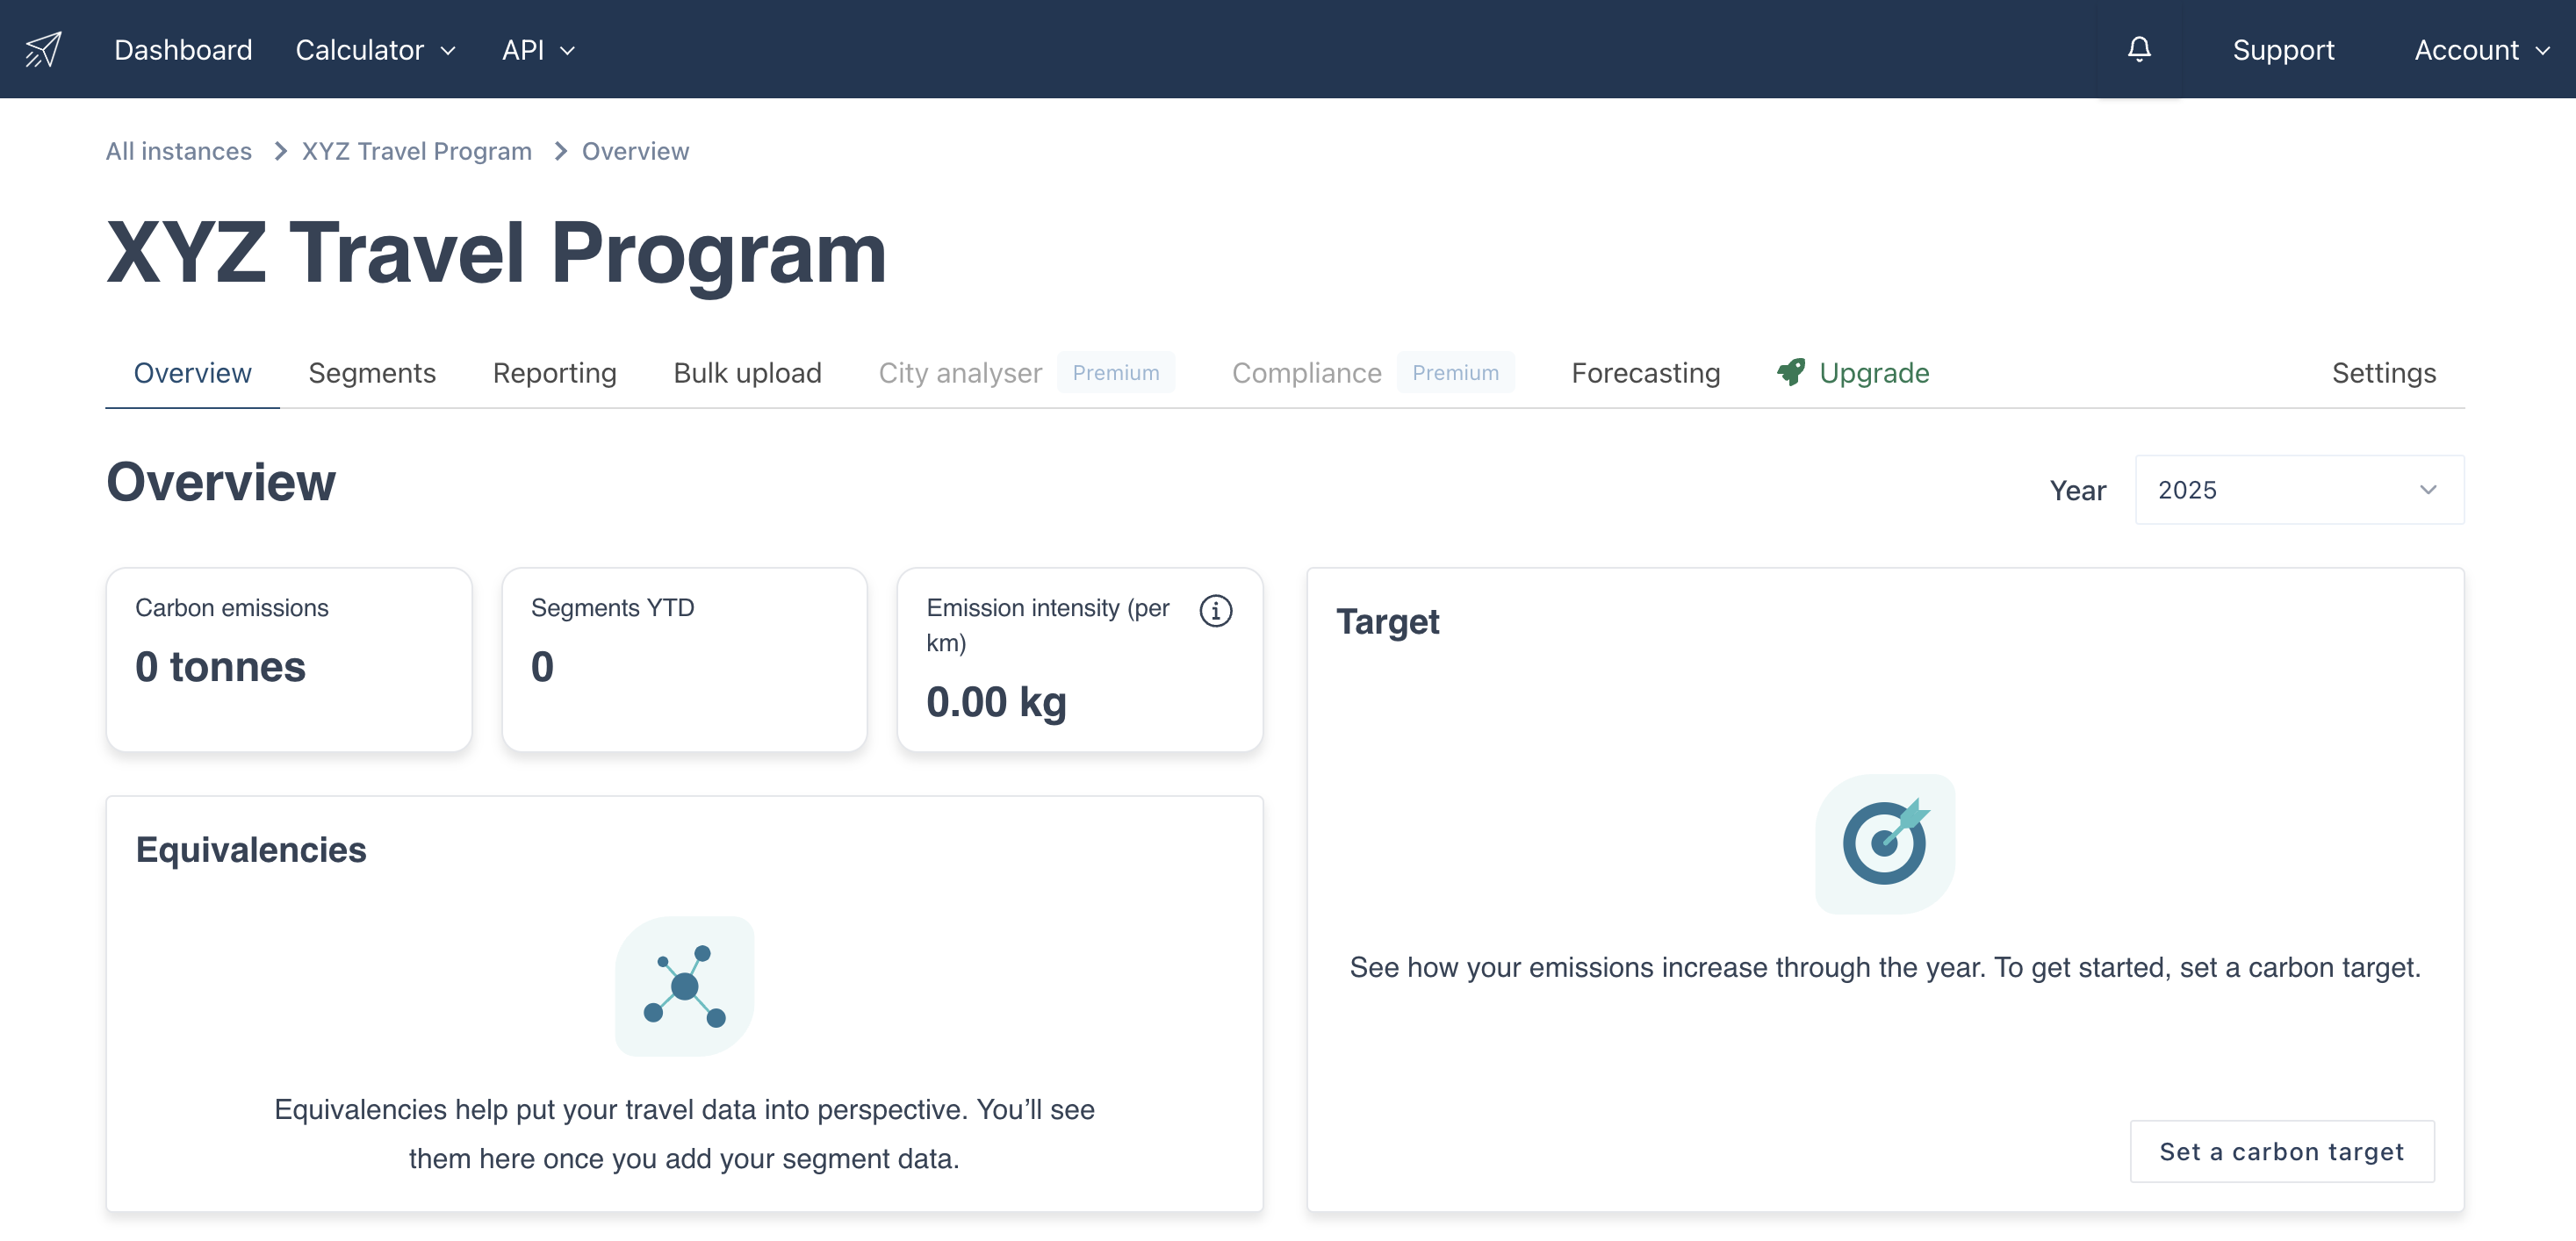
When you have completed populating the fields click on the save button and you will be directed into your new instance as shown below. Once you are within your new instance you can start uploading your data.
2. Editing an instance
To edit the details of your instance navigate to the settings page by clicking on the “settings” button.
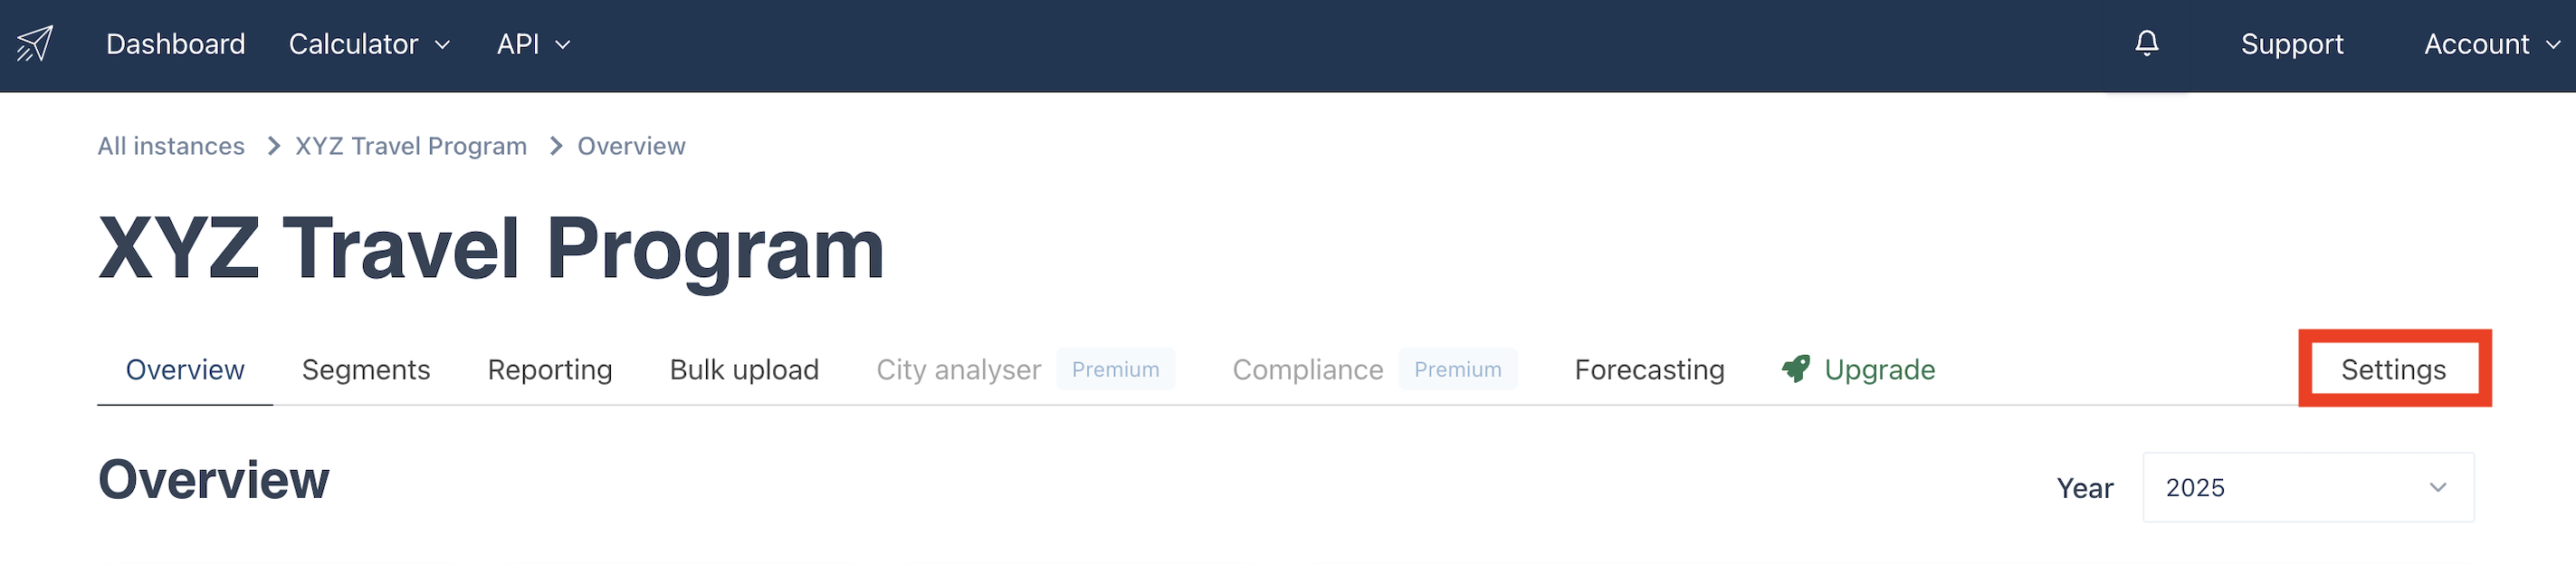
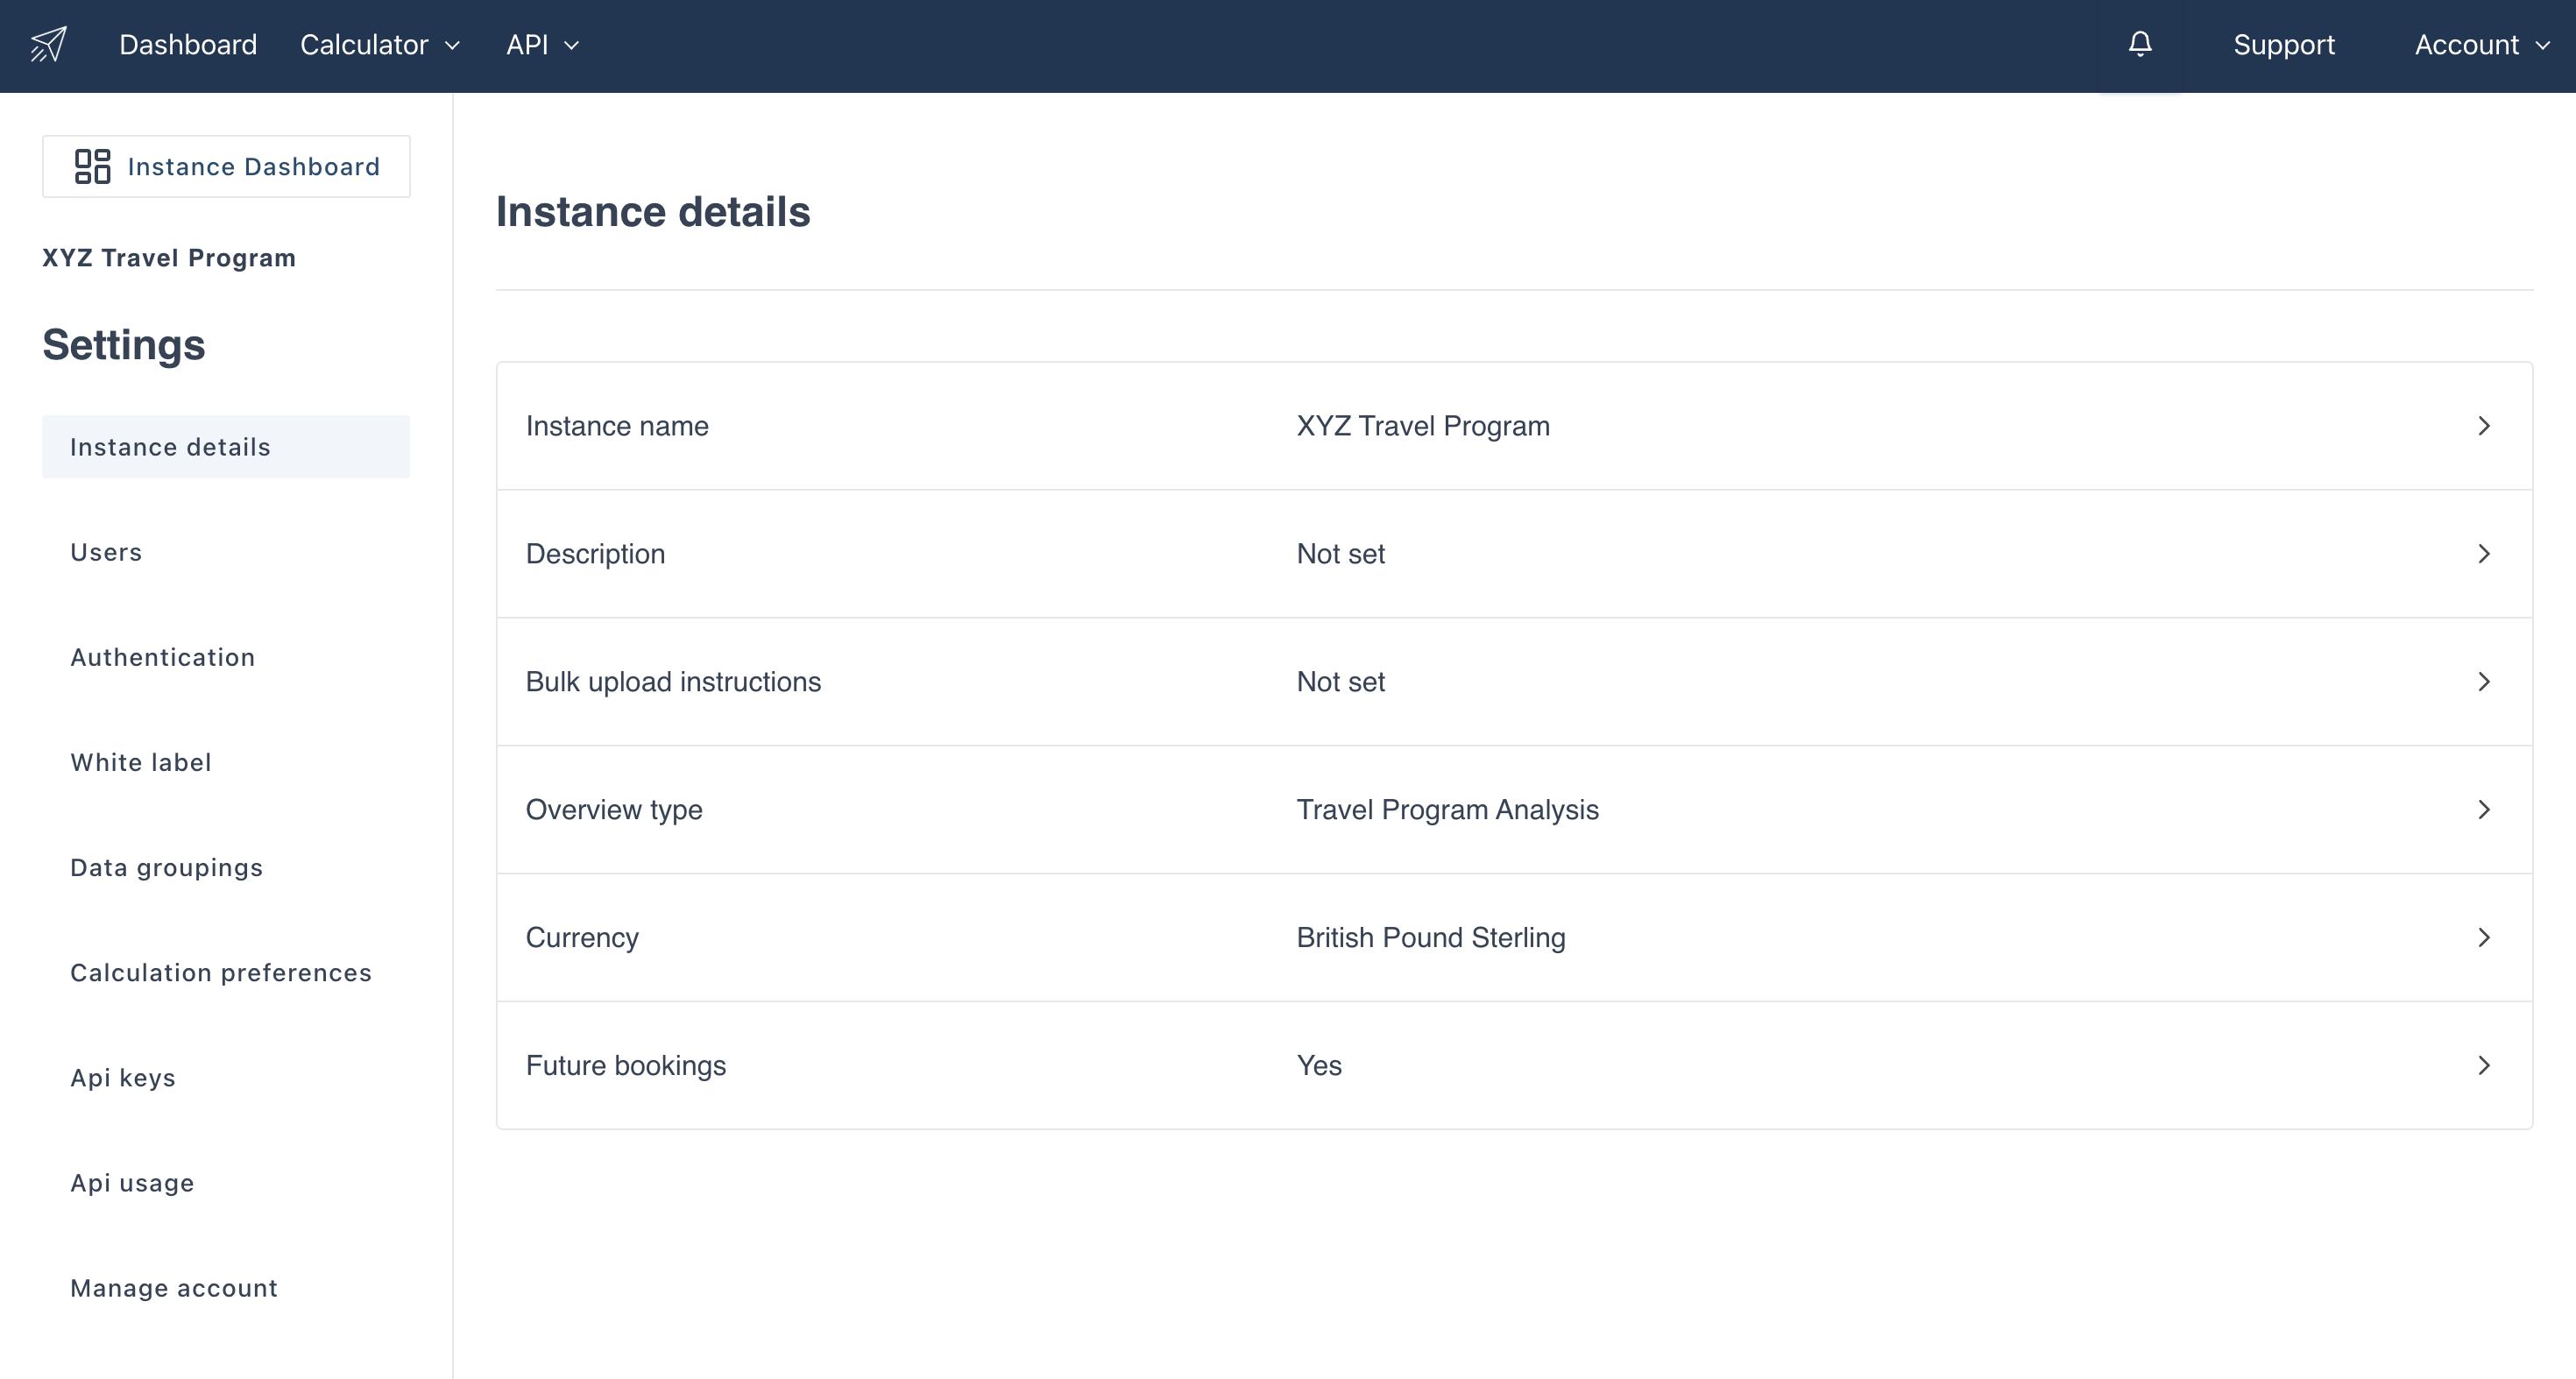
You will be navigated to the below settings page.
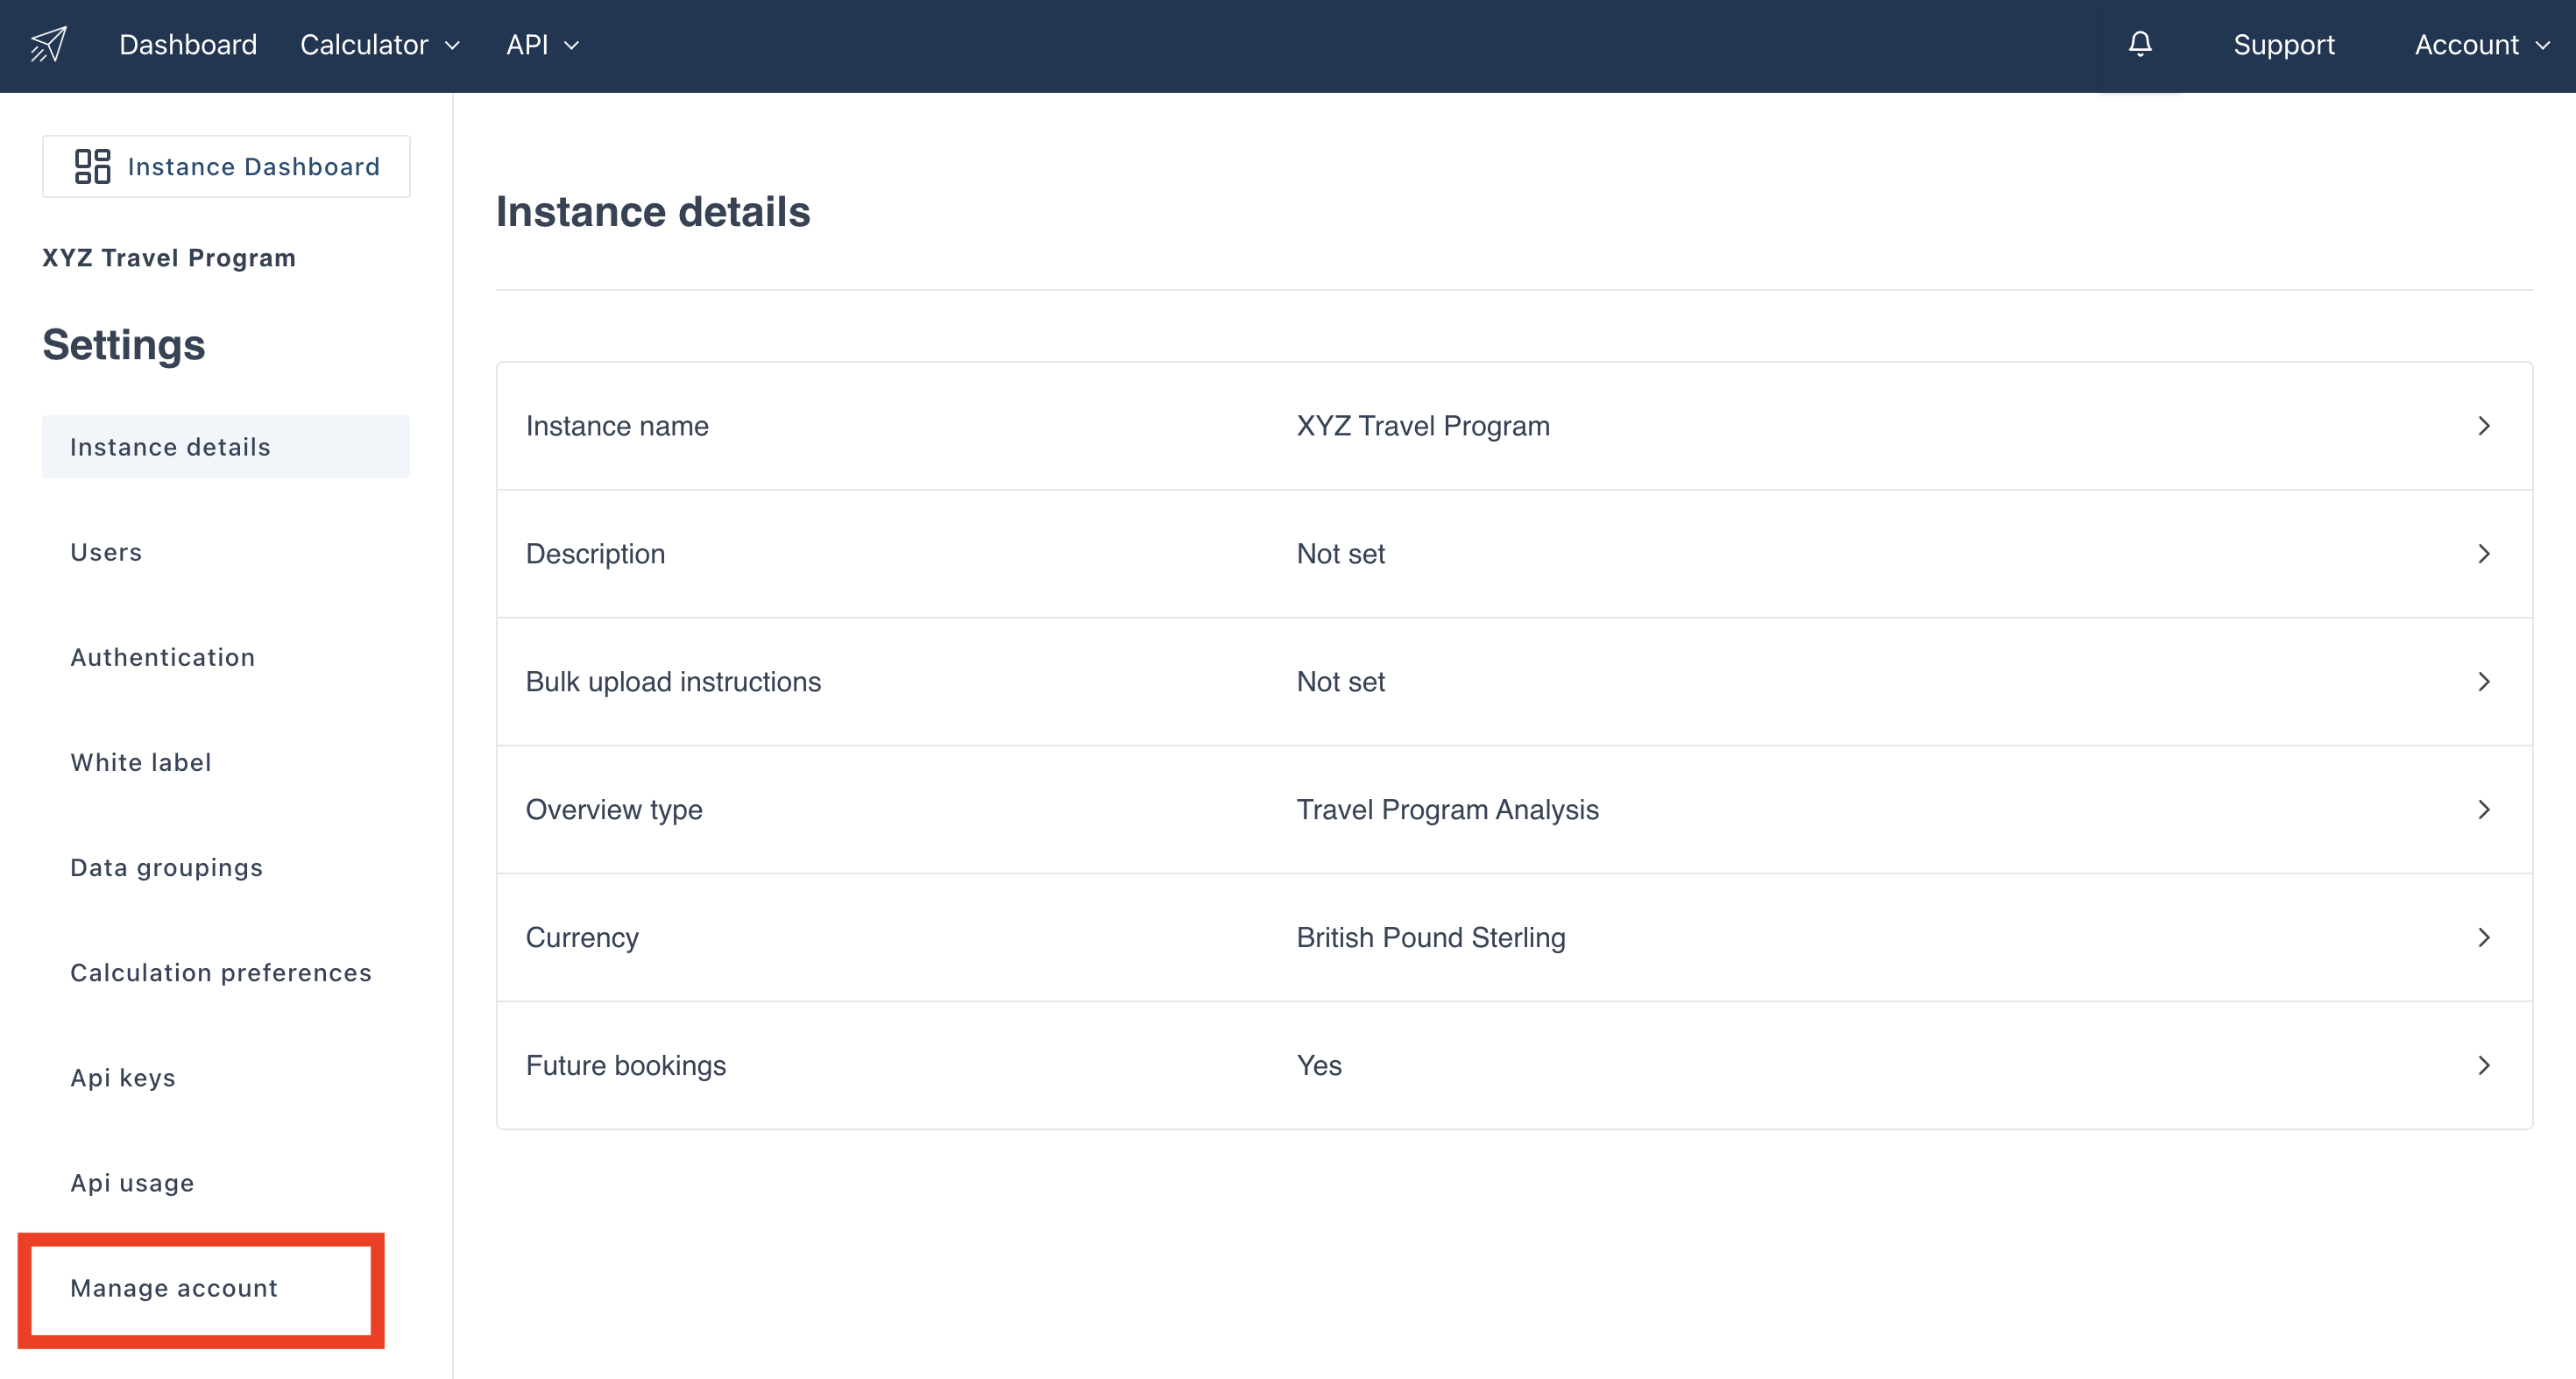
Note that deleting an instance is irreversible. If you do however need to delete an instance navigate to the settings by clicking on the “settings” button on the top right of the overview page. Then click on the "Manage Account" button as shown below.
The below page will open:
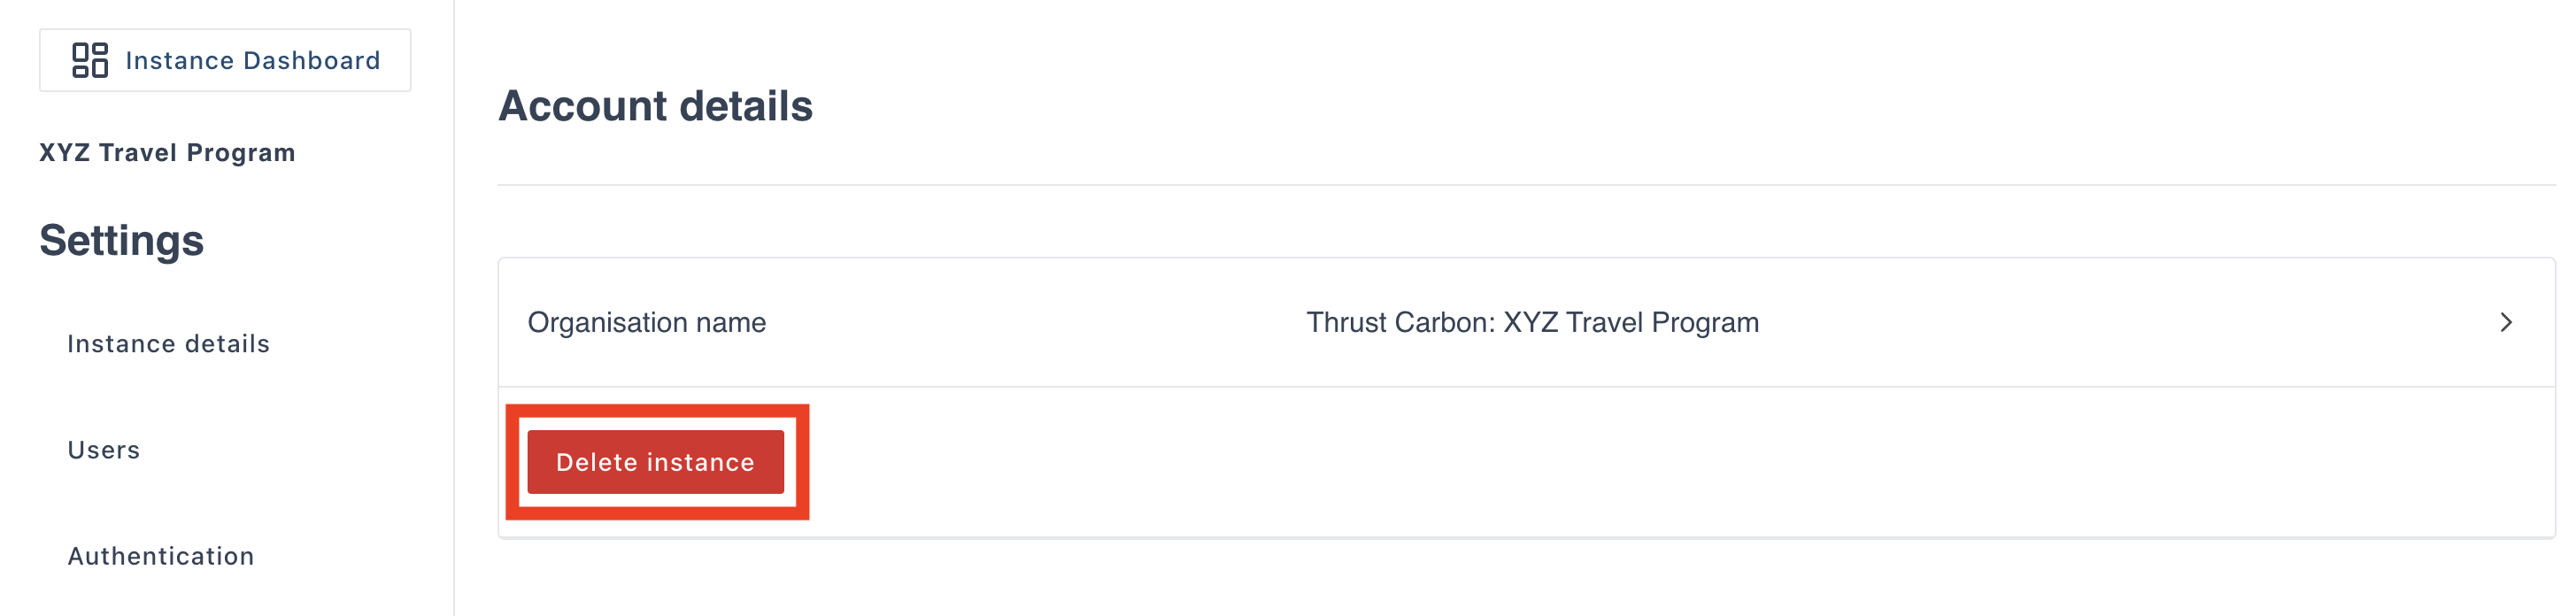
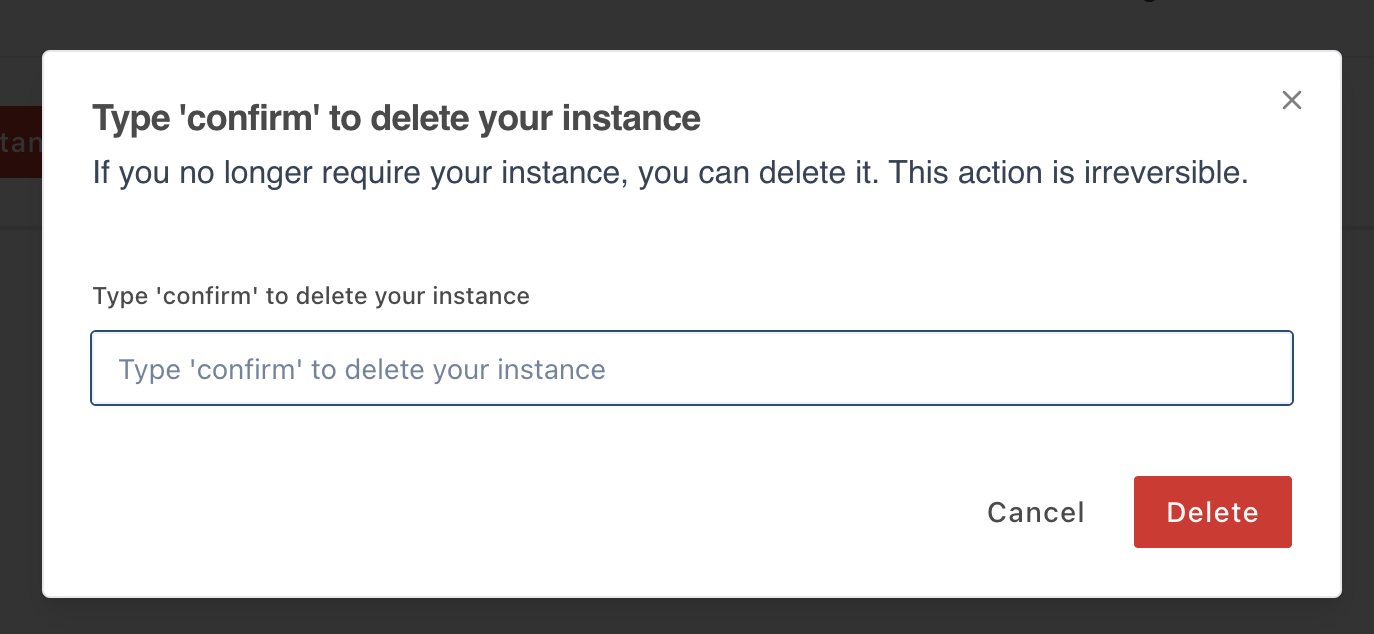
Click on the "delete instance" button and a pop-out will appear. Type "confirm" and click "delete" to permanently delete the instance.
Was this article helpful?
That’s Great!
Thank you for your feedback
Sorry! We couldn't be helpful
Thank you for your feedback
Feedback sent
We appreciate your effort and will try to fix the article