Overview
For a member of your team to access the Thrust Calculator, they need to be added as an individual user. Users can easily be added and deleted to instances within the Thrust Calculator.
1. Adding a User
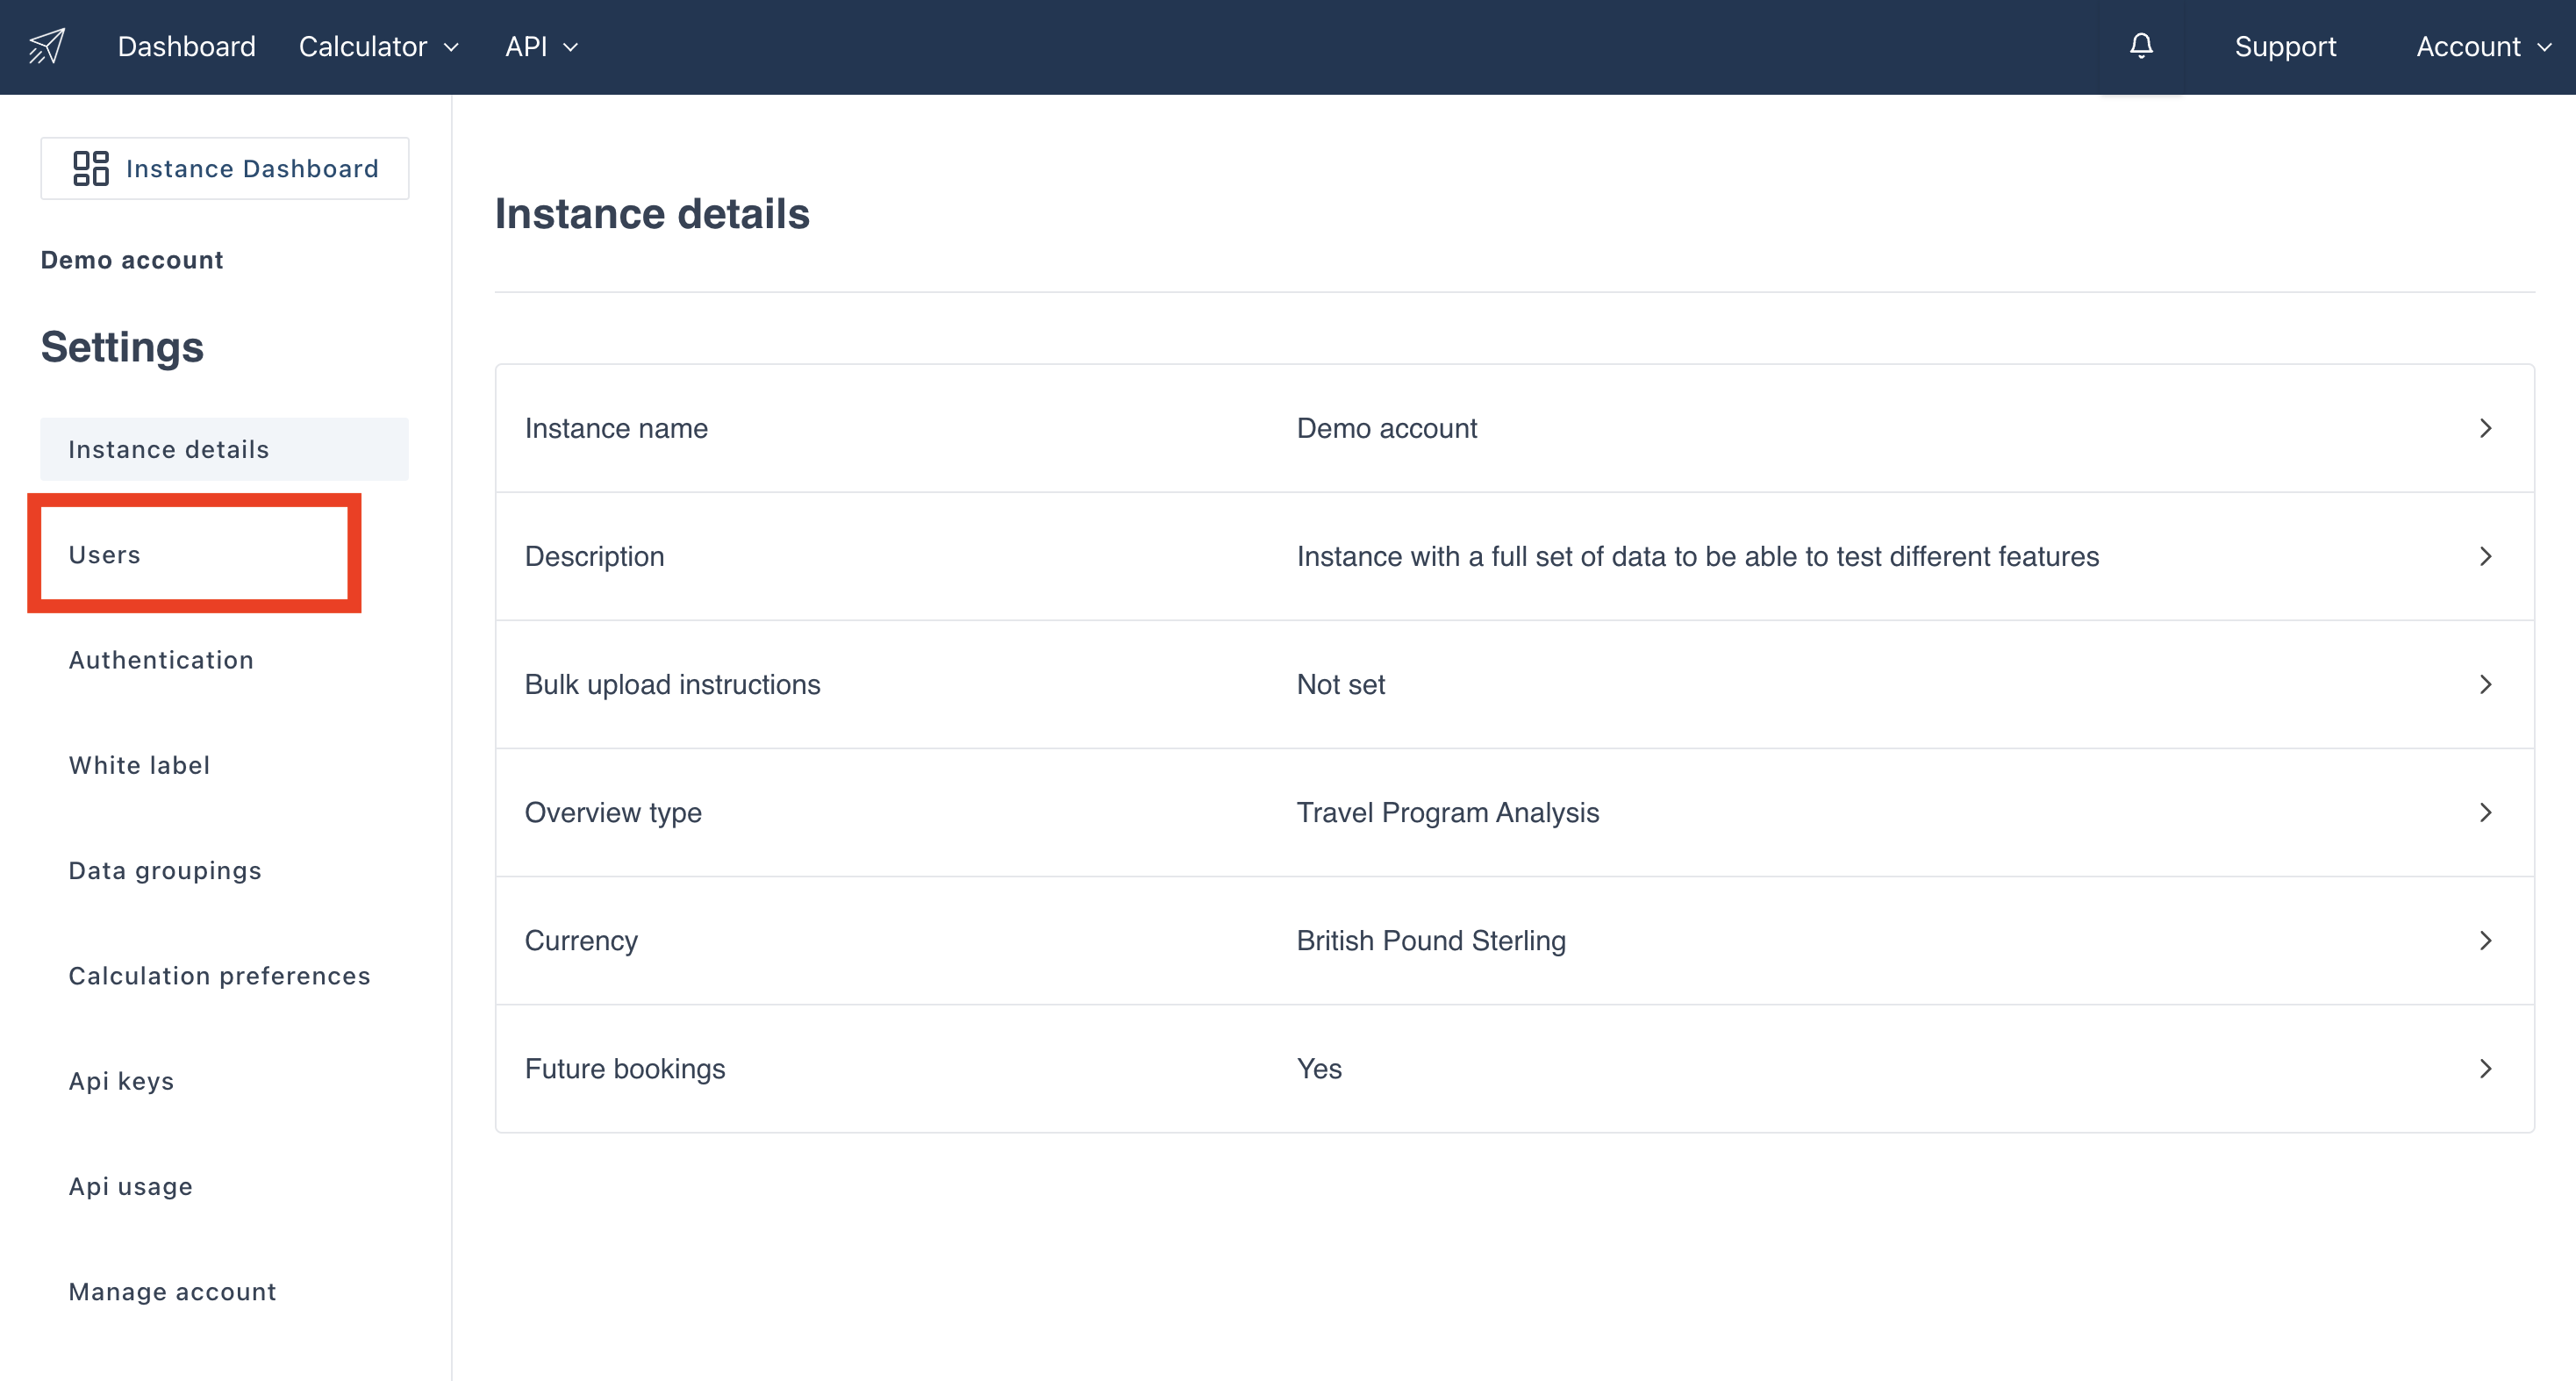
When you are within the instance you want to add a user to click on the “settings” button.

The below settings page will open. Click on the "Users" tab on the left hand side of the page to navigate to the user account settings.
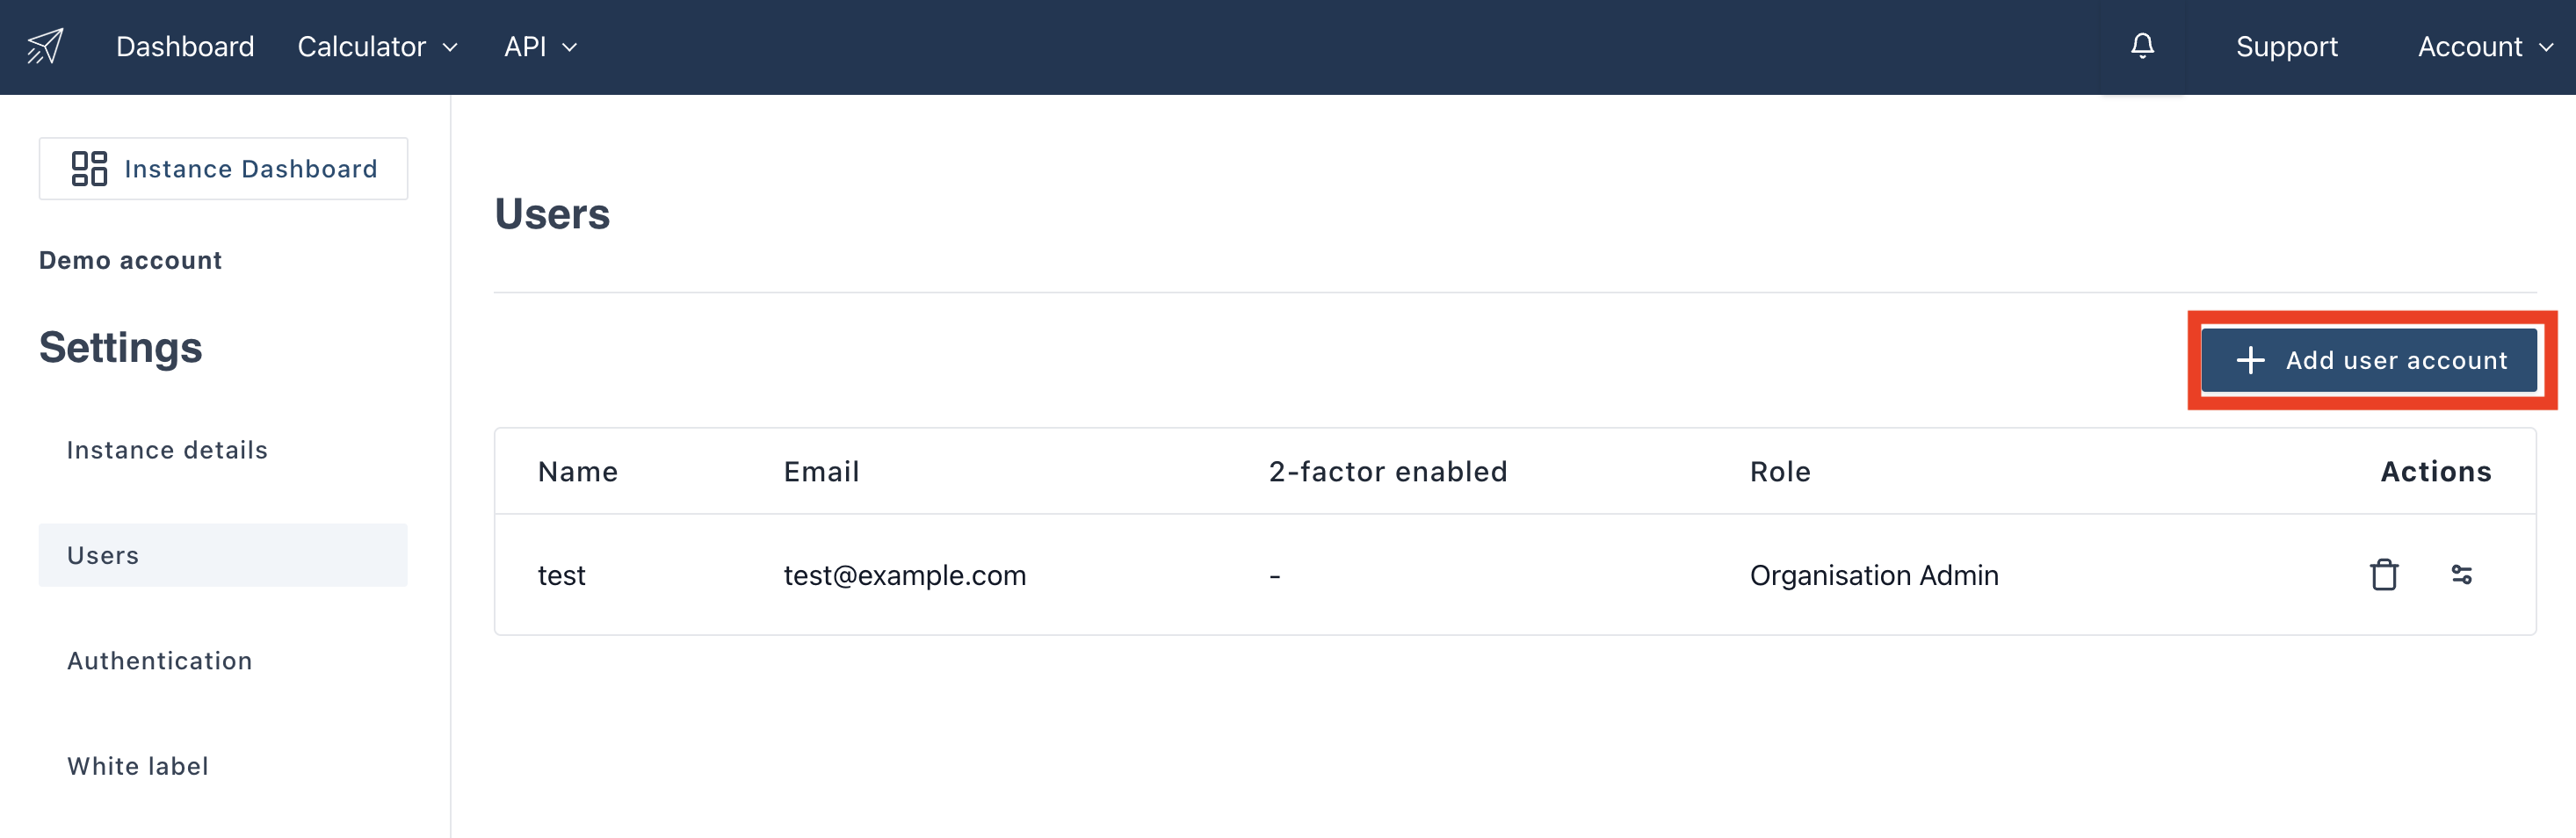
To add users to the instance you are in click on the button “Add user account”.
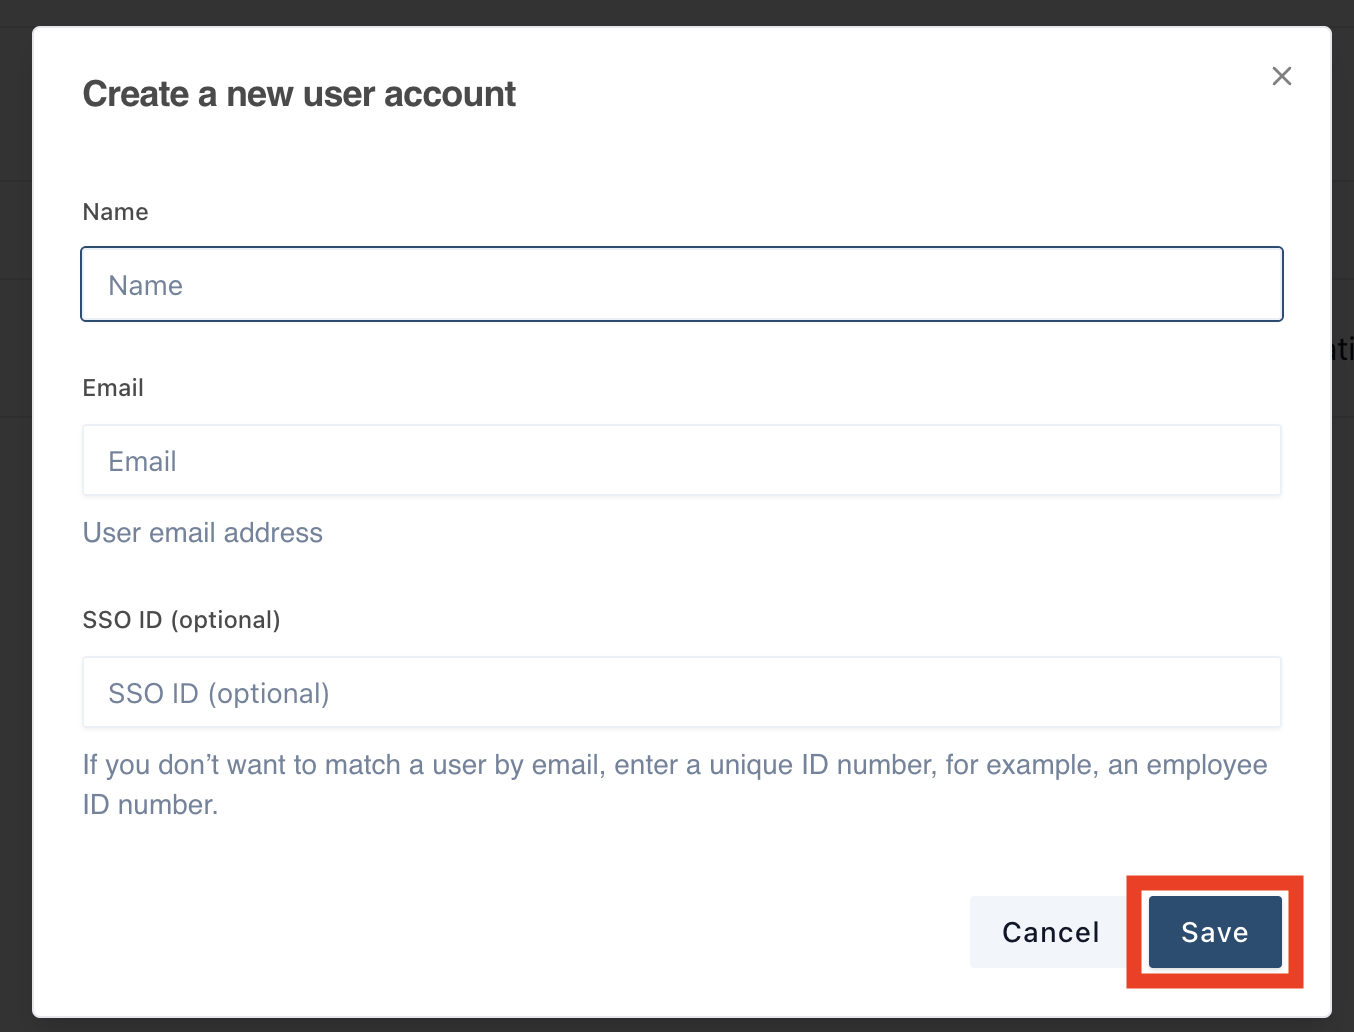
A pop-out will appear. You now need to type in the name and email address of the user you wish to add to the instance. If your organisation has set up SSO, then you can also add the SSO ID for the user too. Press the save button once you have finished.
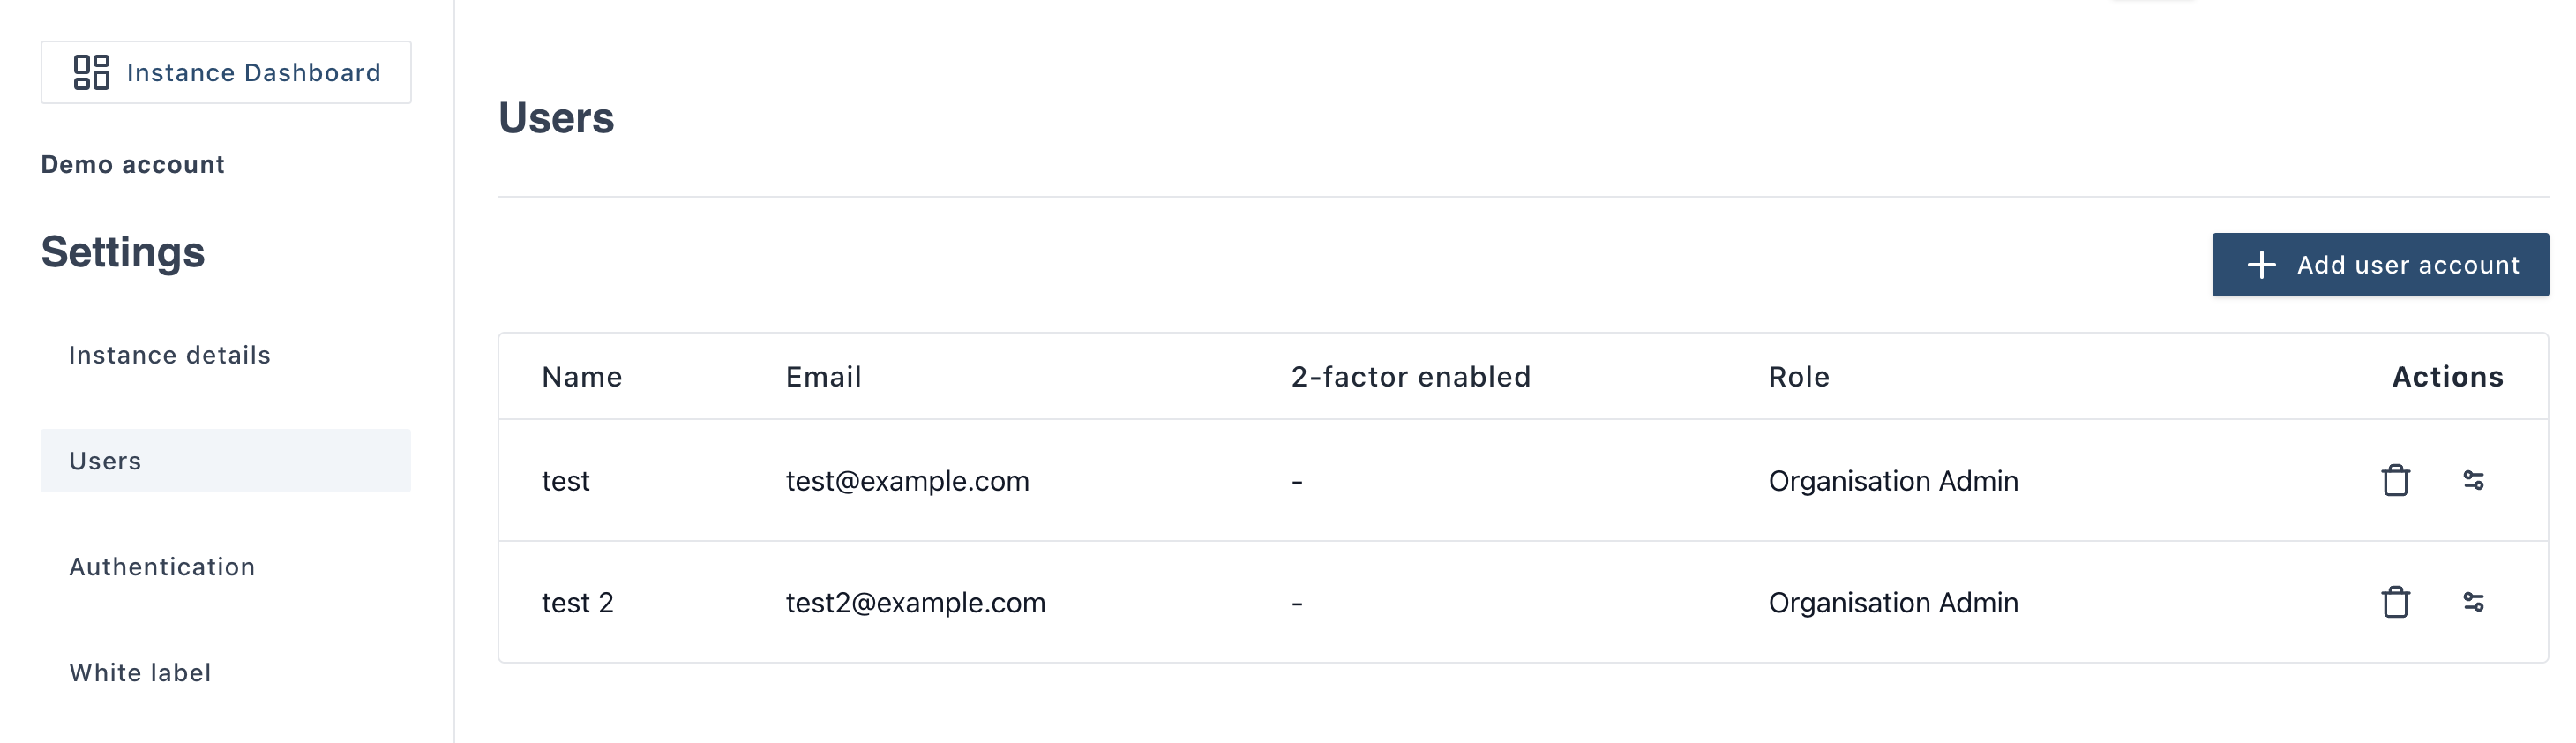
On clicking the save button the new user will appear in the “Your users” list as shown below. The new user will also receive an email explaining how they can log into the Thrust Calculator.
The new user will receive an email confirming their username and a prompt to change their password.
2. Changing a users permissions
To change a users permissions imply press on the "Edit user permissions" button as highlighted below.

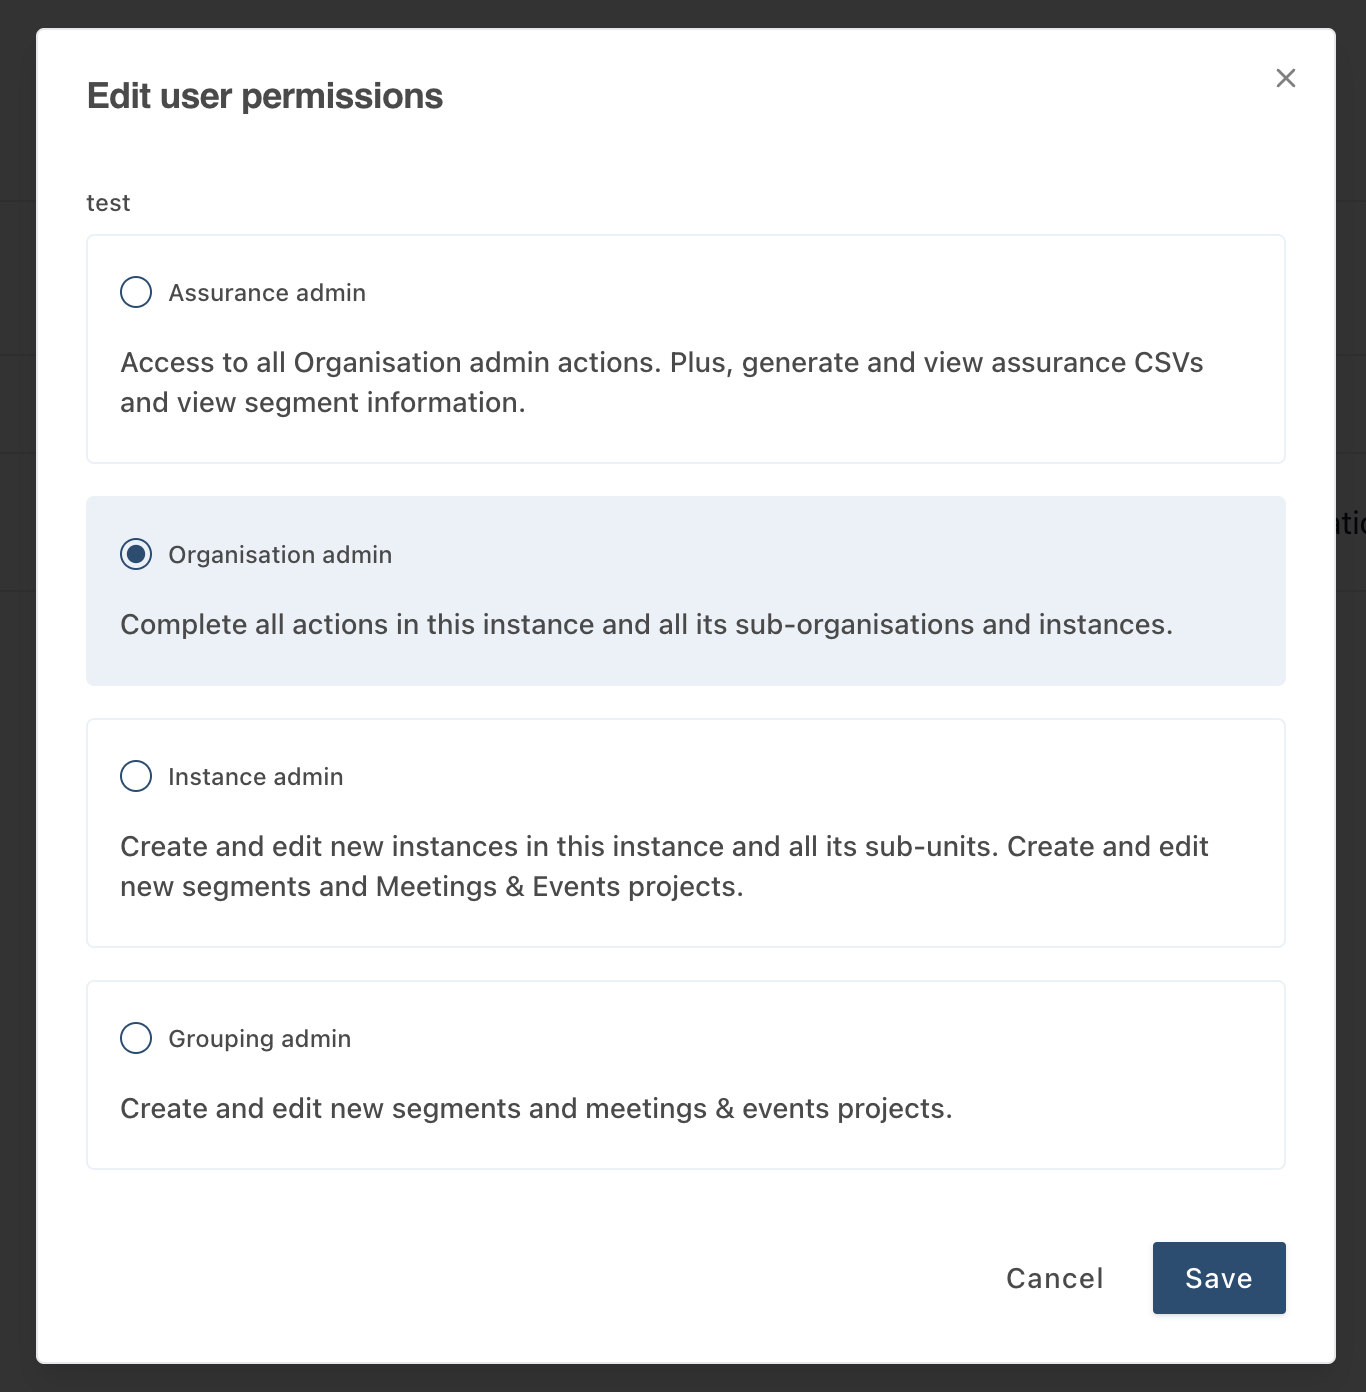
The following pop-up will appear. There is additional information on the different actions each user permission can achieve. Click on the permission you would like to assign to your user, then click save.
3. Deleting a User
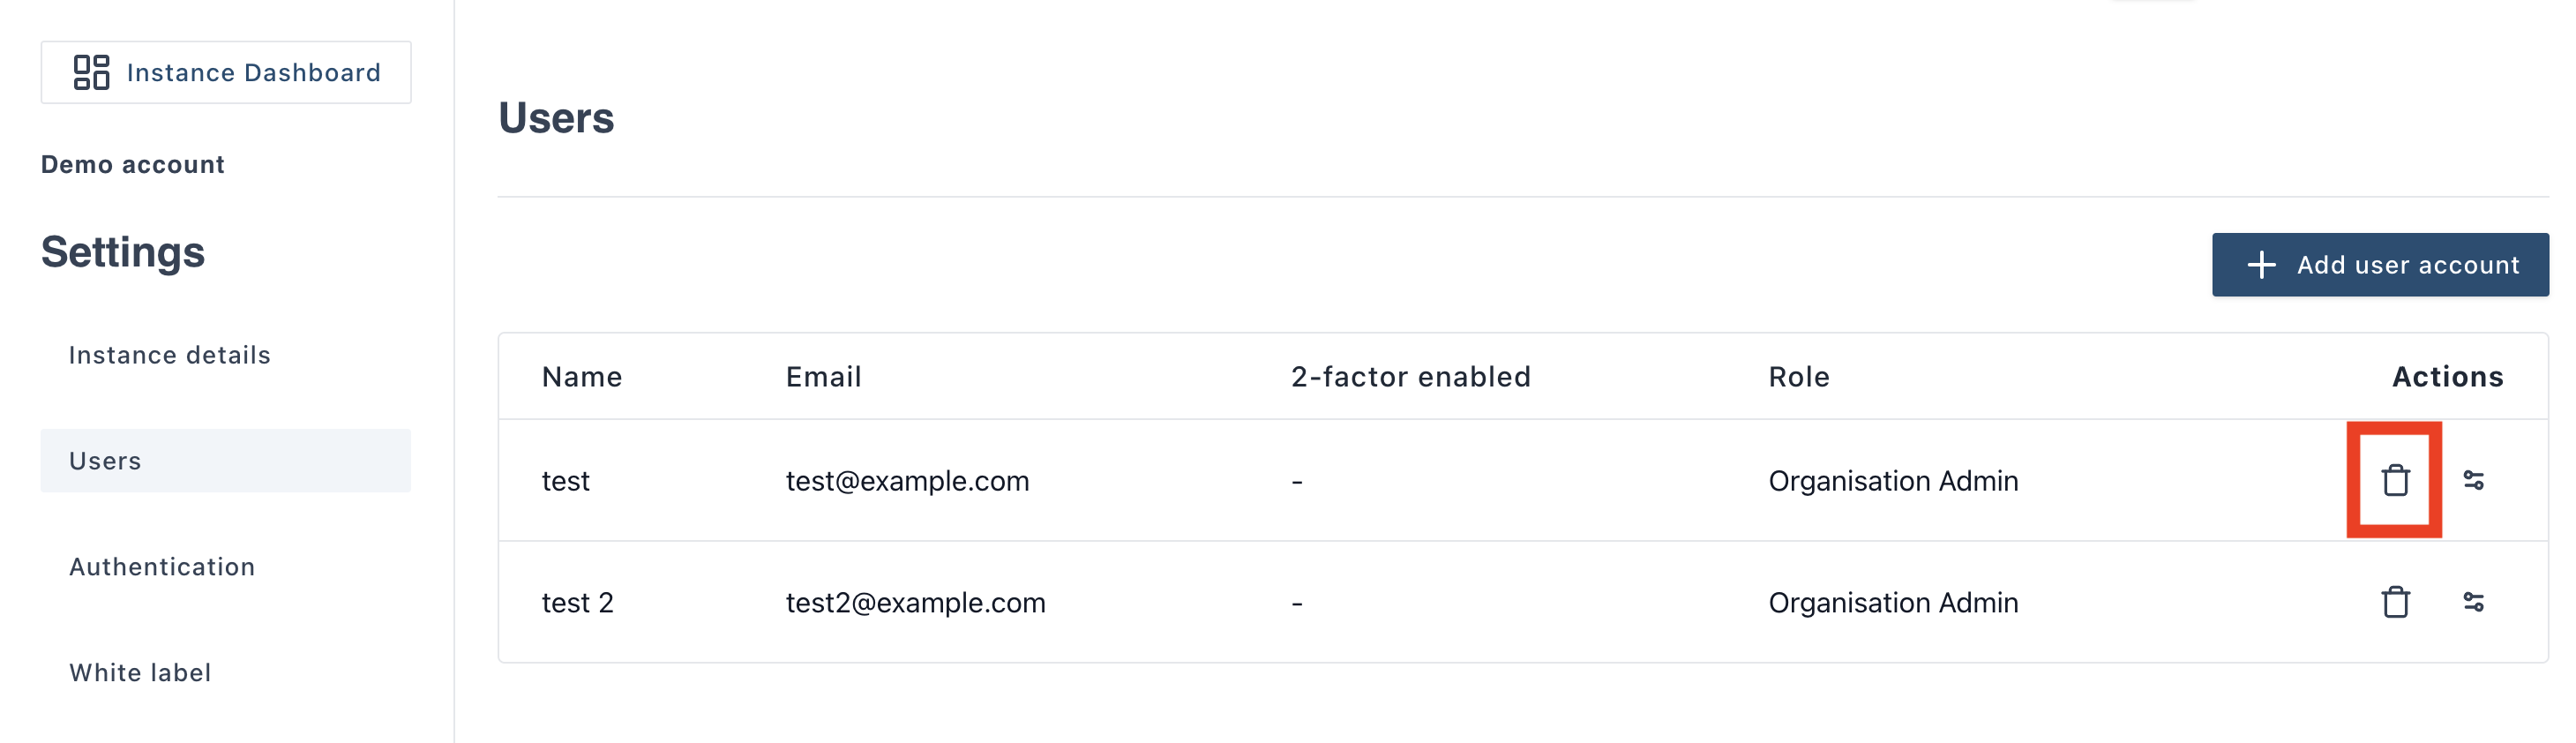
If you wish to delete a user from an instance simply click on the bin icon highlighted below. They will no longer have access to this instance.
Was this article helpful?
That’s Great!
Thank you for your feedback
Sorry! We couldn't be helpful
Thank you for your feedback
Feedback sent
We appreciate your effort and will try to fix the article