Overview
The Thrust Calculator allows you to create a demo travel program instance which is pre-populated with travel data. This enables you to demonstrate all the capabilities of the Thrust Calculator to your customers.
The feature of adding a demo instance is targeted to Thrust Carbon partners who are reselling the Thrust Calculator.
The demo instance includes all features of a premium Thrust Calculator instance including but not limited to:
Travel data from the segment types; air, hotel, car, rail and ferry.
Carbon targets
Carbon budgets
This user guide will talk you through the process of setting up a demo instance ready to show your customers. In addition there is a supplementary guide which will talk you through how to use and interact with the demo instance: Using a demo instance.
1. Creating a demo instance
To create a demo instance first log into the Thrust Calculator and click on the “Calculator” tab as shown below.

Click on the “New Instance” button as shown below.

Next select “Demo Instance”.

The following pop-out will appear. Enter the name you would like to assign to your demo instance and also which organisation the instance should sit under.

Once you have created your demo instance the new instance will appear in your list of instances, as shown below. All demo instances can be identified by the “demo” tag that is shown on the left hand side of the instance name.

2. Adding users
You may want to add additional users to your instance in order to allow your customers to interact with the features within the demo instance.
See the user guide: Creating Users
3. White Labelling
The Thrust Calculator enables you to white label the impact reports of your instance. To change the white labelling of the instance see the user guide: Report White labelling
4. Deleting a demo instance
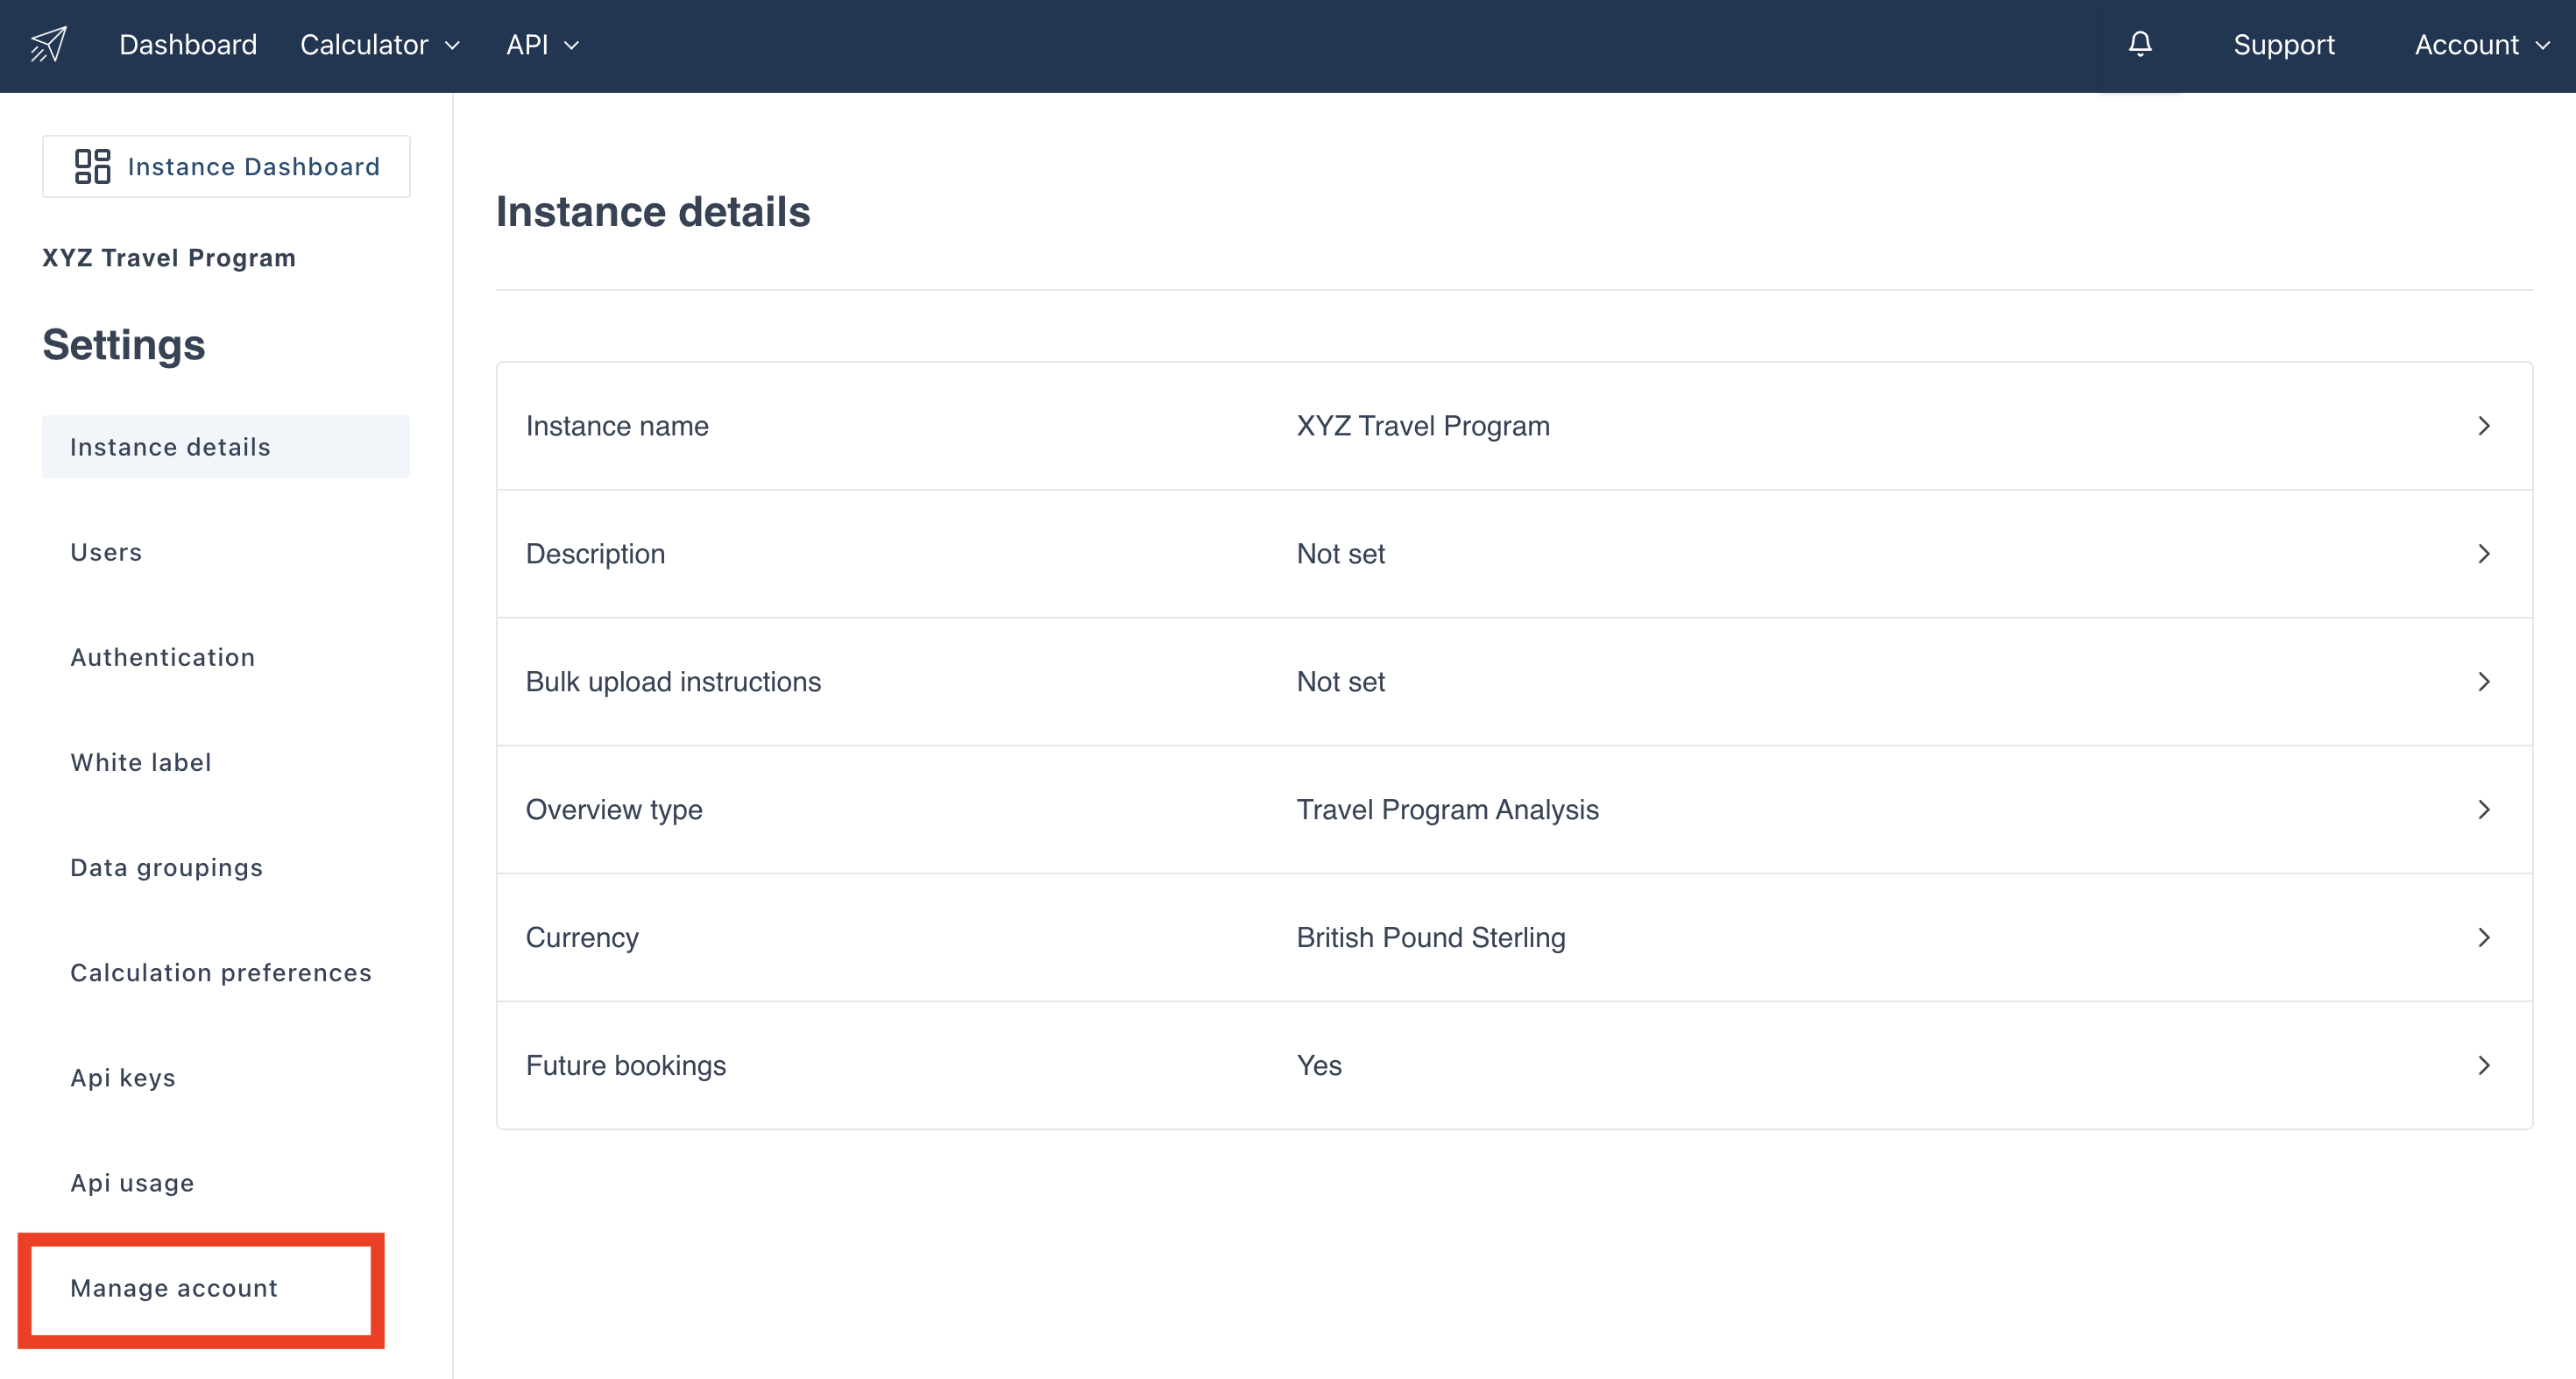
Note that deleting an instance is irreversible. If you do however need to delete an instance click on the settings button as shown below.

Then click on the "Manage Account" button as shown below.
The below page will open:
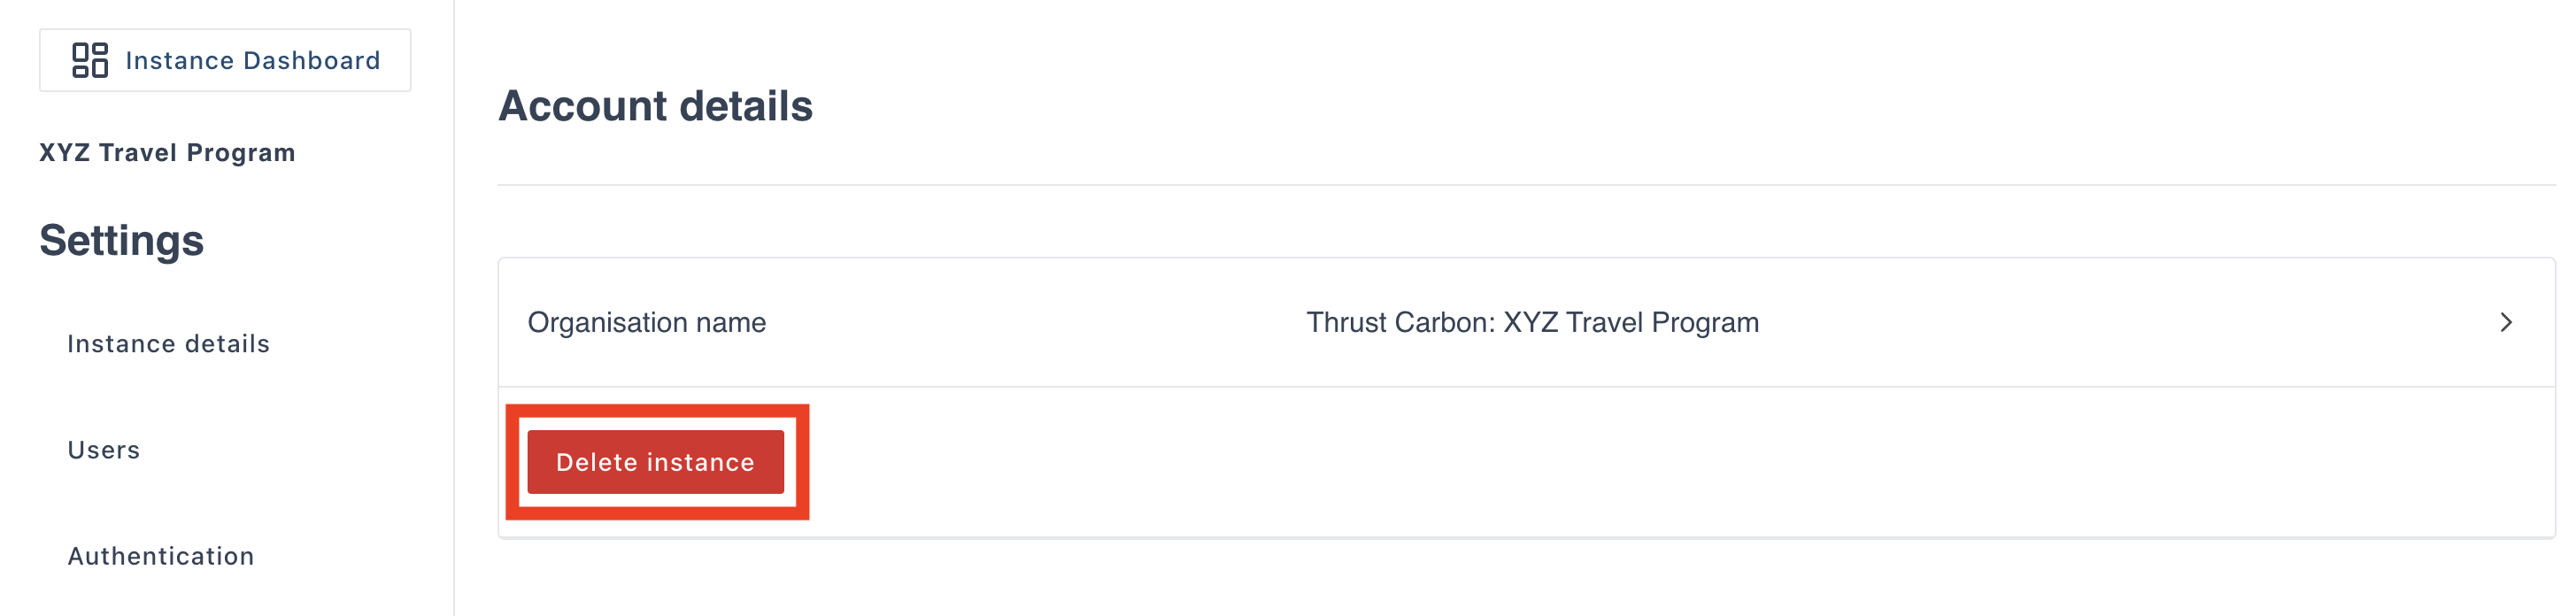
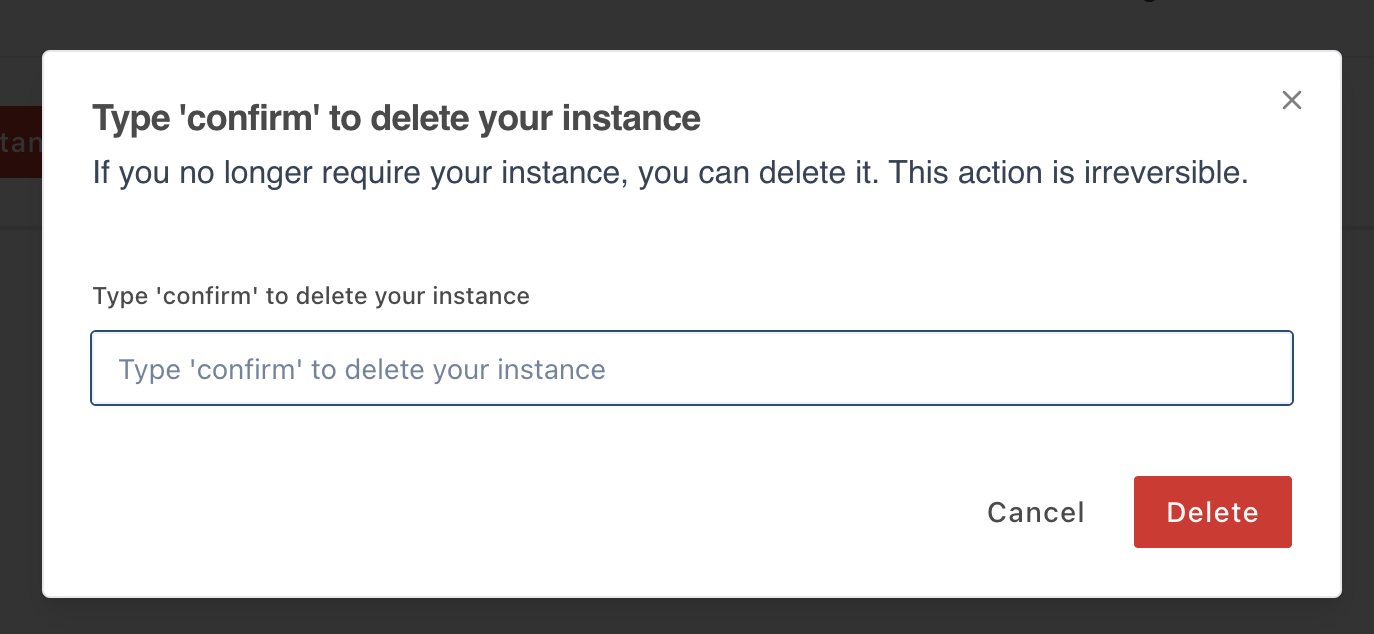
Click on the "delete instance" button and a pop-out will appear. Type "confirm" and click "delete" to permanently delete the instance.
5. Using a demo instance
Now that you have set up your demo instance ready to show your customer view the user guide: Using a demo instance for more information of the different features within the Thrust Calculator.
Was this article helpful?
That’s Great!
Thank you for your feedback
Sorry! We couldn't be helpful
Thank you for your feedback
Feedback sent
We appreciate your effort and will try to fix the article