Overview
The Organisation Reporting page is available to Thrust Calculator and Thrust Event users who have access to more than 1 instance. Through this reporting page you are able to export CSV reports of multiple instances to get a full overview of the emissions from your organisation.
1. Ensuring the correct user permissions
To be able to access the Organisation Reporting page and all its features you will need to have access to more than one instance in your organisation.
2. Accessing Organisation Reporting
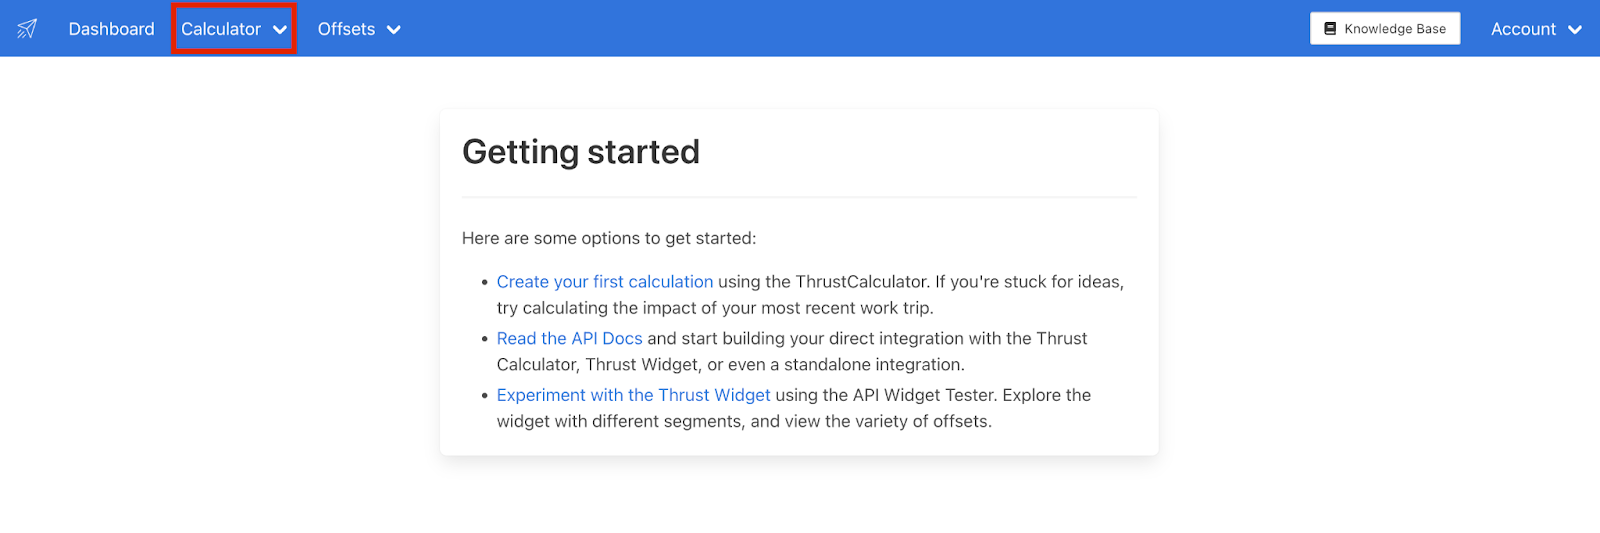
To access Organisation Reporting simply log into the Thrust Calculator and click on the “Calculator” tab at the top of the page.
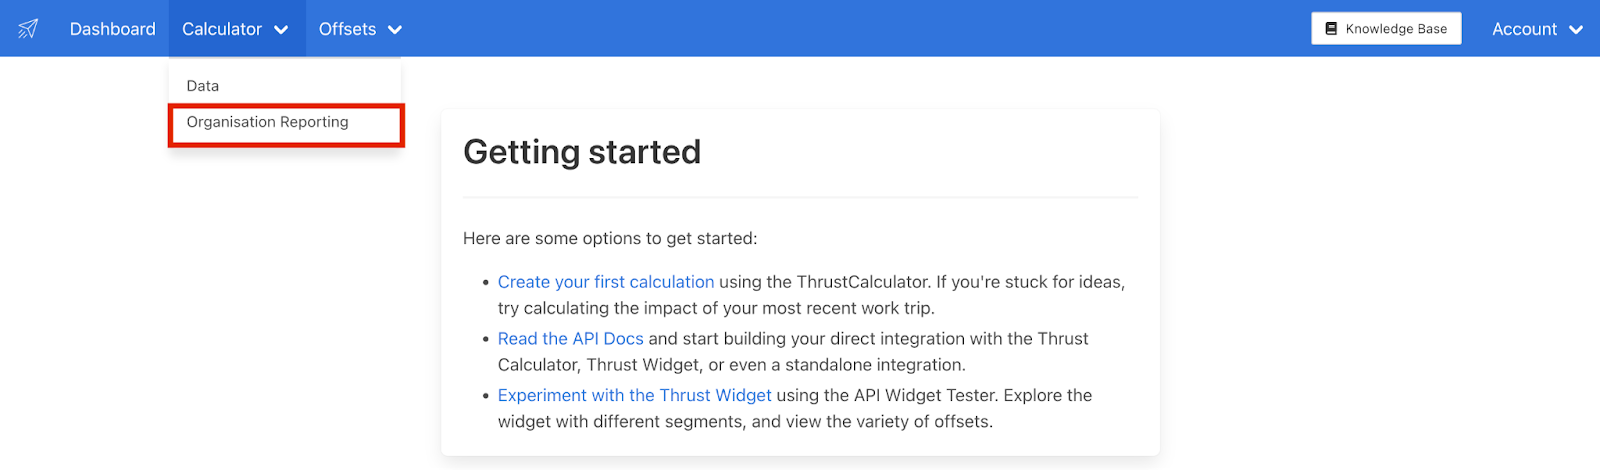
A drop down list will appear, click on “Organisation Reporting” as shown below.
Note: To view your individual instances you will want to click on the “Data” dropdown option.
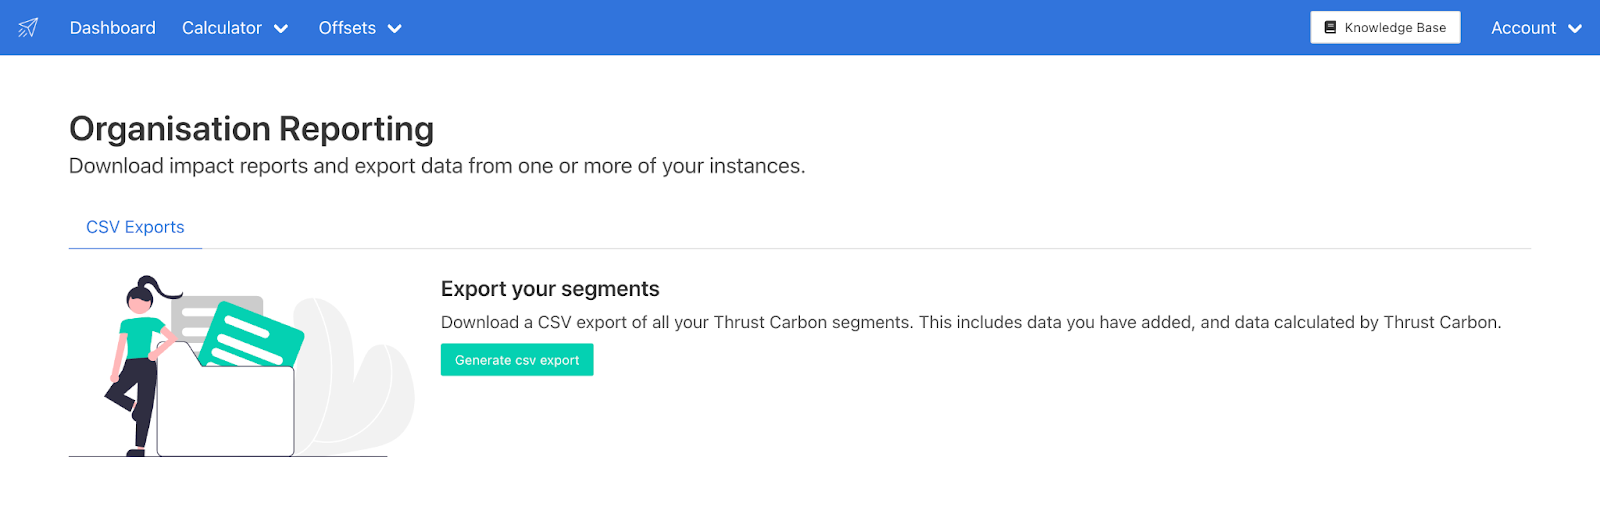
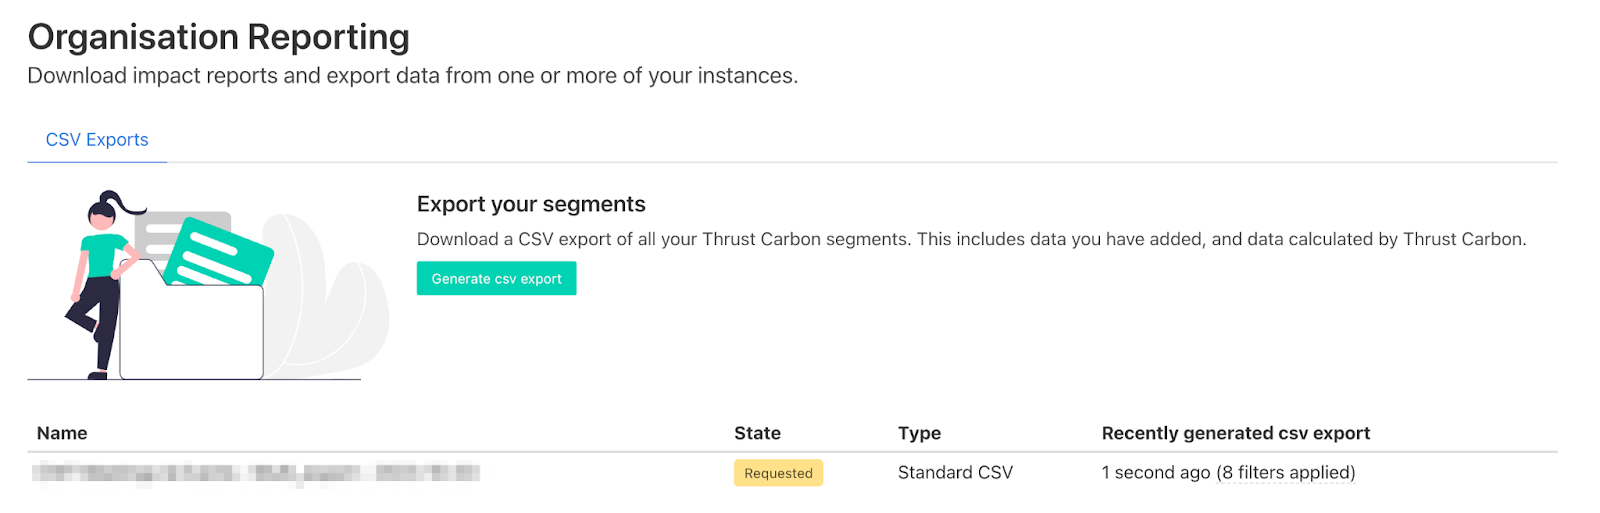
You will be brought to the Organisation Reporting page as shown below.
3. Generating an impact report
To generate a CSV report click on the “Generate CSV export” button as shown below.

The following pop-out will be displayed.

You now need to populate the input fields.
The export type is set as a “Standard CSV”
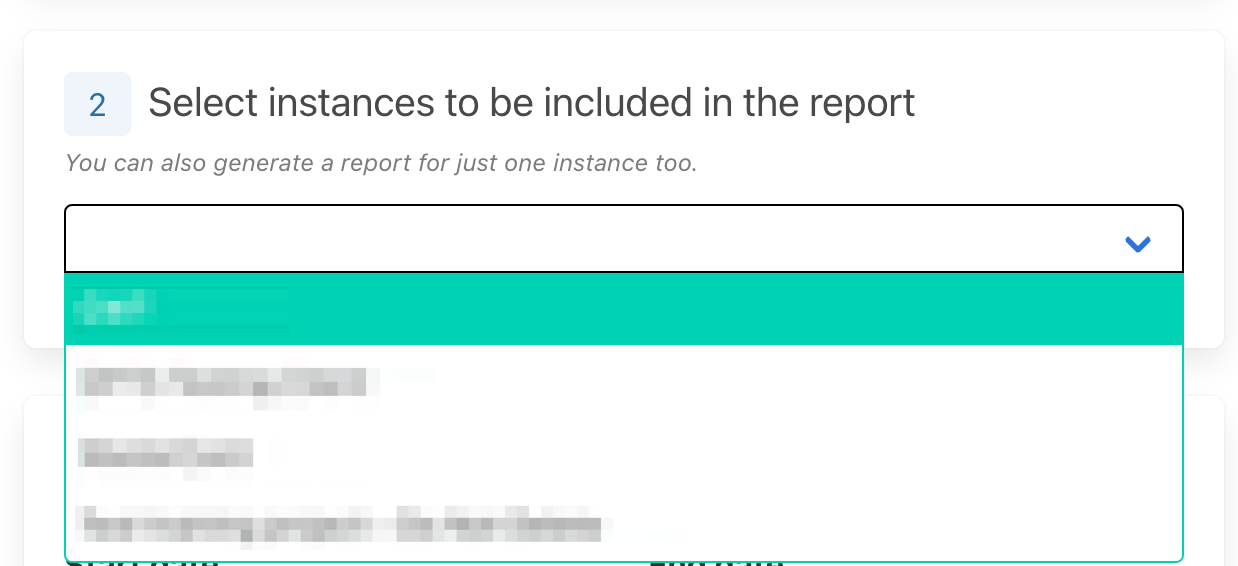
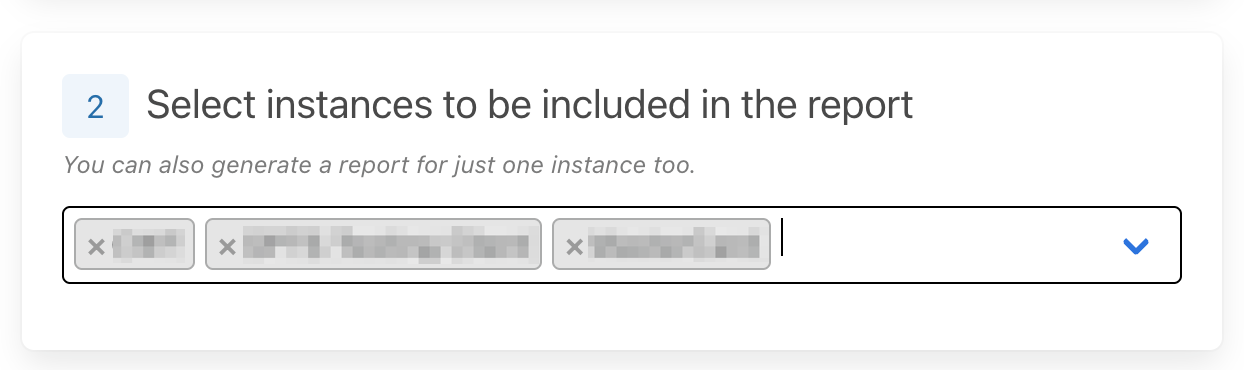
Select the instances you wish to be included in the CSV export.
You can generate a CSV report for one or more instances. The use case for only choosing 1 instance is for Thrust Events users who wish to export all the data from their meeting/events within 1 instance.
To specify which instances you want included you can either scroll through the drop down list as shown below. Or simply start typing the name of the instance into the box and a typeahead will be shown.
As you select which instances are to be included, they will appear in the input box as shown below.
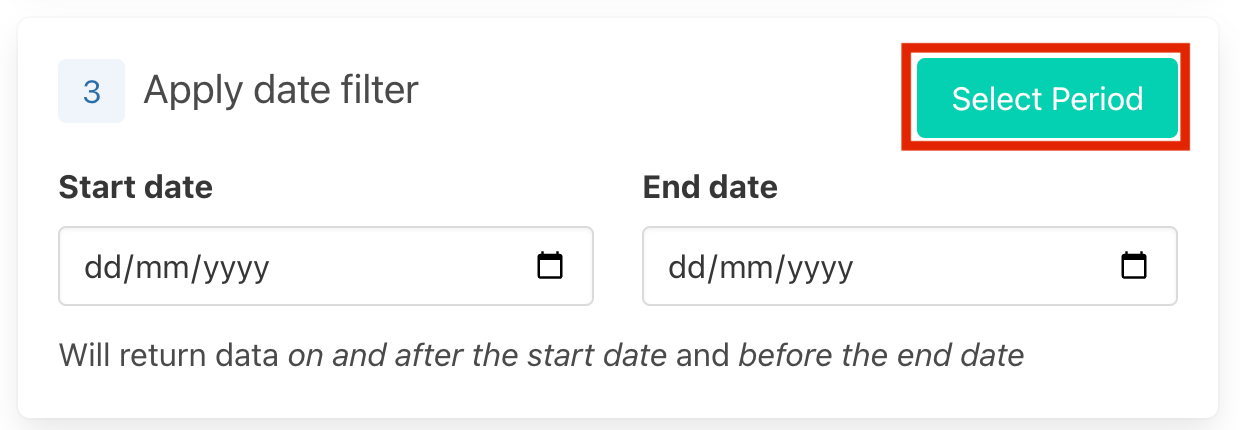
Specify the date range
To specify the date range of the segments that are included in your CSV export, either select the start and end date or click on the “Select Period” button.
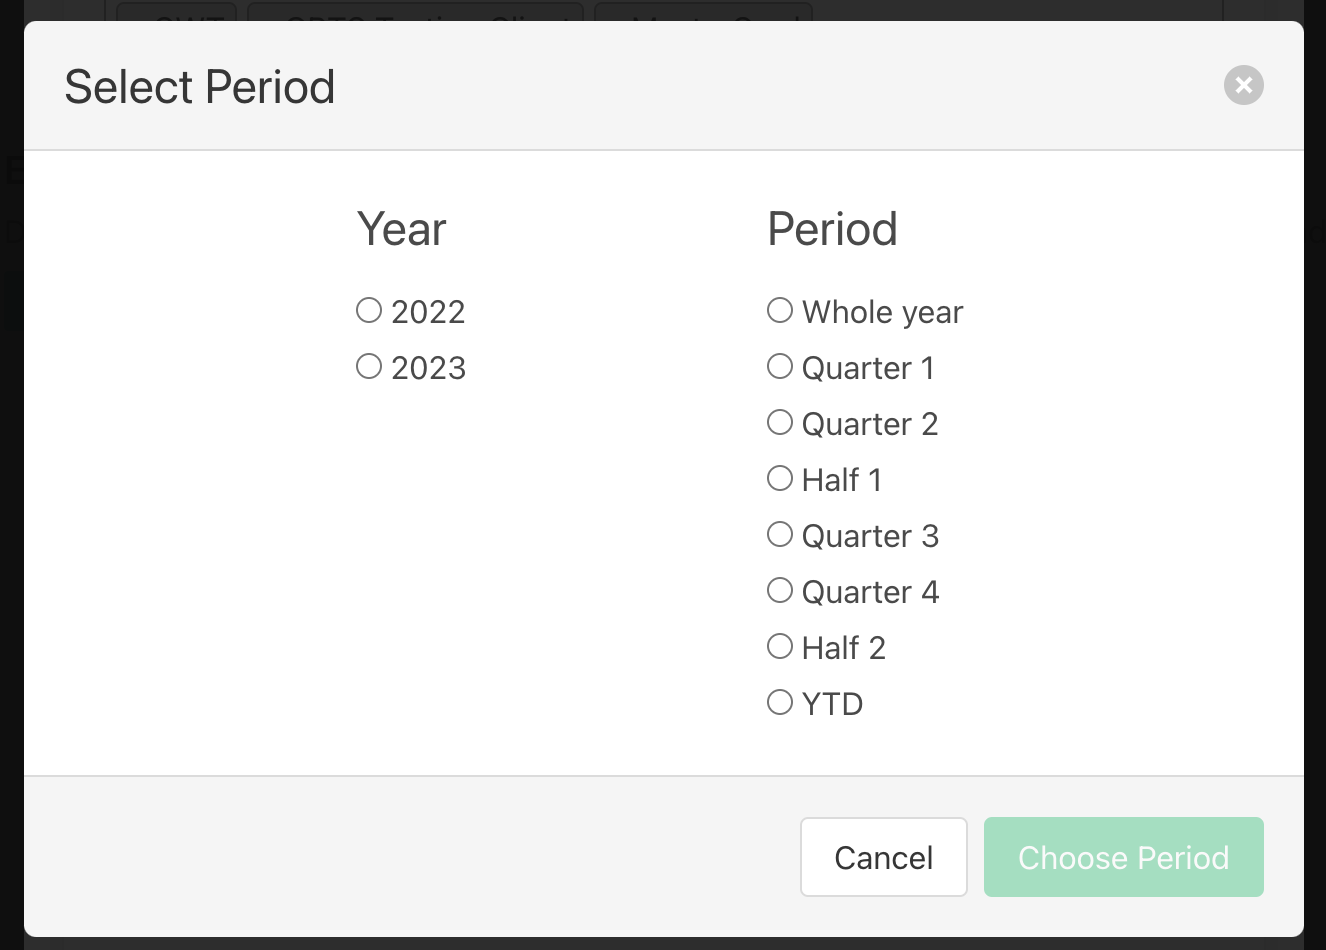
On clicking “Select Period” the below pop-out will appear, and you can select which year and period to apply to your export.
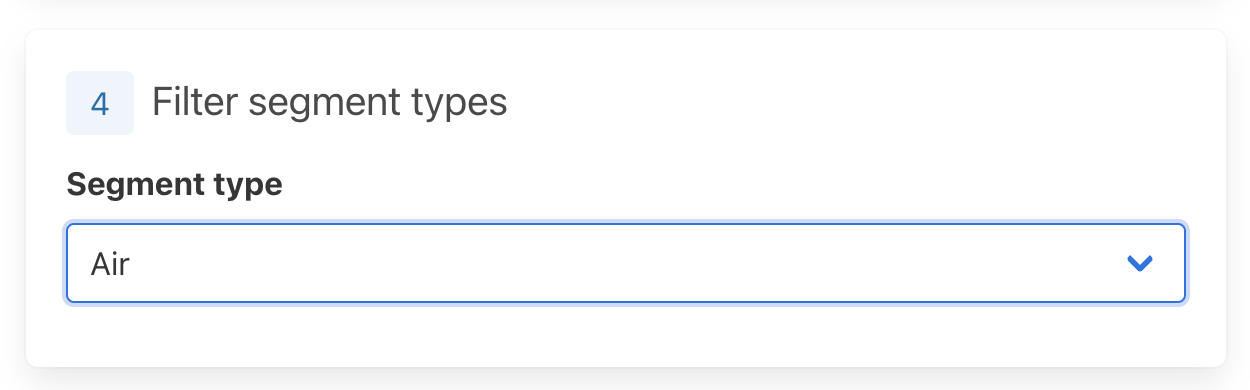
Segment Type
You can either export a CSV with all segment types, or specify which segment type you want included in the report. A dropdown list will appear and you can select the segment type you wish to export.
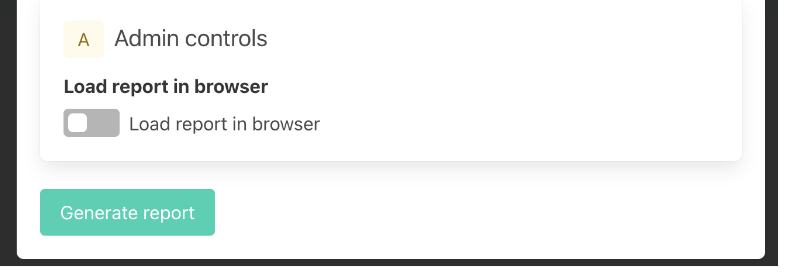
Report customisations. Here you are to input the report title, sub-title and filename.
Once you have finished inputting all the details for your impact report click on the “Generate Report” button.
4. Downloading the CSV Export
Once you have generated the report you will be able to view the progress as shown below. We can see in the below example that the CSV export has been requested. Once the CSV export has completed generating you will receive an email to the email associated with your Thrust Calculator account.
When the file is completed the status will change to completed and you can download the data using the download button shown below.
![]()
The name of your new file will be the “[name of the instance] - Export - [date of export]”. If you hover your mouse over the “filters applied” text you can see the filters you applied to this exported emissions dataset.
You can delete your impact report by clicking on the “Delete” button on the right hand side of the report row. Note that this action is not reversible so be sure to delete with care.
Was this article helpful?
That’s Great!
Thank you for your feedback
Sorry! We couldn't be helpful
Thank you for your feedback
Feedback sent
We appreciate your effort and will try to fix the article